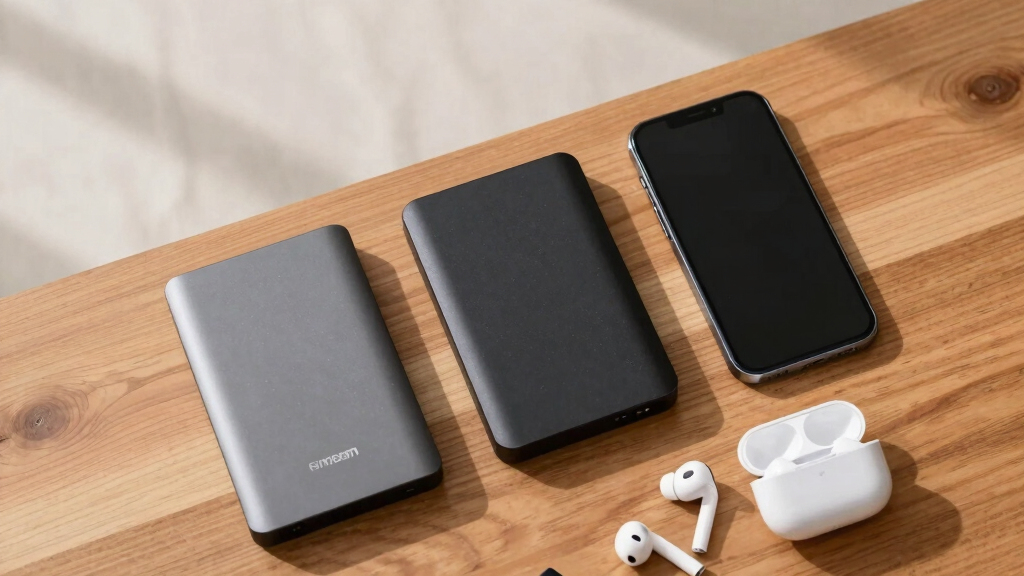
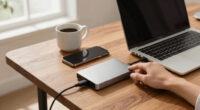
This guide walks you through the process of setting up and using a portable external hard drive. It covers selecting the right drive, connecting it to your device, formatting if needed, and maintaining data security. Perfect for beginners, this task ensures you can reliably store and transfer files with your external drive.

Get the latest gadgets delivered free with Prime
- Fast, free delivery on millions of items
- Prime Video, Amazon Music and more included
- Member-only deals all year
Difficulty: Beginner | Time: 30-45 minutes
What You’ll Need
Tools & Materials:
- Portable external hard drive
- USB cable or cable compatible with your drive
- Computer or device with USB port
Knowledge:
- Basic understanding of file storage and computer connectivity
Ensure your computer is powered on and has available USB ports. Check the drive’s compatibility with your operating system before purchasing.
Products Worth Considering

Anker SOLIX C300 Portable Power Station with 60W Solar Panel, 288Wh, 300W

Anker SOLIX C1000 Gen 2 Portable Power Station with 200W Solar Panel

Samsung 32-Inch Odyssey G5 QHD Gaming Monitor (G50F)
As an affiliate, we earn on qualifying purchases.
Before You Start
Verify your device’s USB port type (USB-A, USB-C, Thunderbolt) and ensure your external hard drive is compatible. Back up important data before formatting if you plan to reformat the drive. Keep the drive and cable nearby for easy connection.
Step-by-Step Instructions
Step 1: Choose the right external hard drive
Select a portable external hard drive with sufficient storage capacity for your needs. Check compatibility with your device’s connection type (USB-A, USB-C). Consider speed, durability, and brand reputation.
Tip: Opt for drives with USB 3.0 or higher for faster data transfer. Read reviews to confirm reliability.
Check: You have a compatible, appropriately sized drive ready for setup.
Step 2: Connect the drive to your device
Plug the external hard drive into an available USB port using the appropriate cable. Ensure the connection is firm and secure.
Tip: Use a different USB port if the drive isn’t recognized. Avoid using USB hubs for initial setup.
Check: Your device detects the external drive, indicated by a notification or drive icon.
Step 3: Initialize and format the drive (if necessary)
Open your device’s disk management utility (Windows: Disk Management, Mac: Disk Utility). Locate the new drive, right-click, and select ‘Format’ or ‘Erase.’ Choose a file system (NTFS for Windows, APFS or Mac OS Extended for Mac). Confirm formatting.
Tip: Backup existing data before formatting; formatting erases all data. Name the drive for easy identification.
Check: The drive appears as a formatted, accessible storage volume with your drive name.
Step 4: Transfer files to the external drive
Open the drive in your file explorer, then drag and drop files or copy-paste data onto it. Confirm files are copying successfully.
Tip: Avoid disconnecting during file transfer. Large transfers may take time; monitor progress.
Check: Files are copied and accessible from the drive, with no transfer errors.
Step 5: Safely eject the drive after use
Use the ‘Eject’ option in your file explorer or system tray to safely disconnect the drive. Wait for confirmation that it’s safe to remove the hardware.
Tip: Never unplug the drive while data transfer is ongoing to prevent data corruption.
Check: The system indicates it’s safe to disconnect; you can now physically remove the drive.
Common Mistakes to Avoid
- Disconnecting the drive during data transfer — Always wait for transfer completion and eject safely before unplugging.
- Using incompatible file systems — Format the drive with a file system compatible with your device (NTFS for Windows, APFS for Mac).
- Not backing up data before formatting — Save copies of files before formatting or repartitioning the drive.
- Connecting the drive via USB hubs — Connect directly to your computer’s USB port to ensure proper detection and performance.
Troubleshooting
Problem: Drive not recognized by the computer
Solution: Try reconnecting the drive, using a different USB port, or restarting your device. Check for driver updates or try reconnecting on another device.
Problem: File transfer is very slow
Solution: Use a USB 3.0 port if available. Avoid using long or damaged cables. Close other intensive applications during transfer.
Problem: Drive shows as unallocated space
Solution: Open disk management utility to initialize or format the drive properly.
Problem: Data appears corrupted after transfer
Solution: Ensure the drive was safely ejected after previous use. Verify the transfer process completed successfully.
What Success Looks Like
The drive appears as an accessible storage device on your system, with your files visible and openable. Data transfer completes without errors, and the drive can be safely ejected without issues.
Next Steps
Regularly back up important files to the external drive. Keep the drive in a safe, stable environment. Use the drive for routine file transfers and backups as needed. Reformat or replace the drive if it shows signs of failure.
Frequently Asked Questions
Can I use an external hard drive with both Windows and Mac?
Yes, but you need to format the drive with a compatible file system like exFAT, which works with both operating systems. Be aware that reformatting erases existing data.
How do I securely erase data from the external drive?
Use your operating system’s disk utility to format or securely erase the drive, ensuring all data is overwritten and unrecoverable.
What capacity external drive should I buy?
Select a drive with at least double the amount of data you plan to store regularly. Consider future needs and choose accordingly to avoid frequent upgrades.