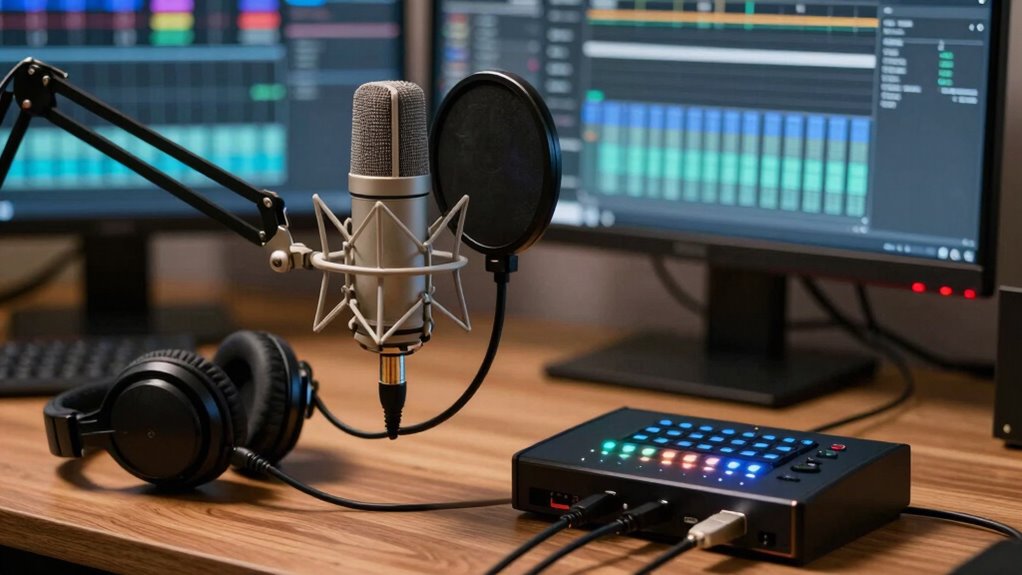
To set up better audio for streaming and calls, start by reducing background noise with noise-canceling headphones or muting distractions. Position your microphone 1-2 inches from your mouth and keep it steady to prevent fluctuations. Choose a quiet, acoustically treated space and avoid reflective surfaces like walls or windows. Adjust your microphone settings for ideal volume and test your setup with short recordings. Keep refining your setup—there’s more to make your sound crystal clear.
Listen free for 30 days with Audible
Thousands of audiobooks and originals — cancel anytime.
As an affiliate, we earn on qualifying purchases.
Key Takeaways
- Minimize background noise by turning off noisy devices and using noise-canceling headphones or microphones.
- Position the microphone 1-2 inches from your mouth, avoiding direct lip placement to prevent popping sounds.
- Use acoustic treatments like foam panels or blankets to reduce echo and reverb in your environment.
- Adjust microphone input levels for clear, balanced sound, and test regularly before streaming or calls.
- Keep the microphone steady with stable mounts and perform quick recordings to fine-tune setup and ensure quality.
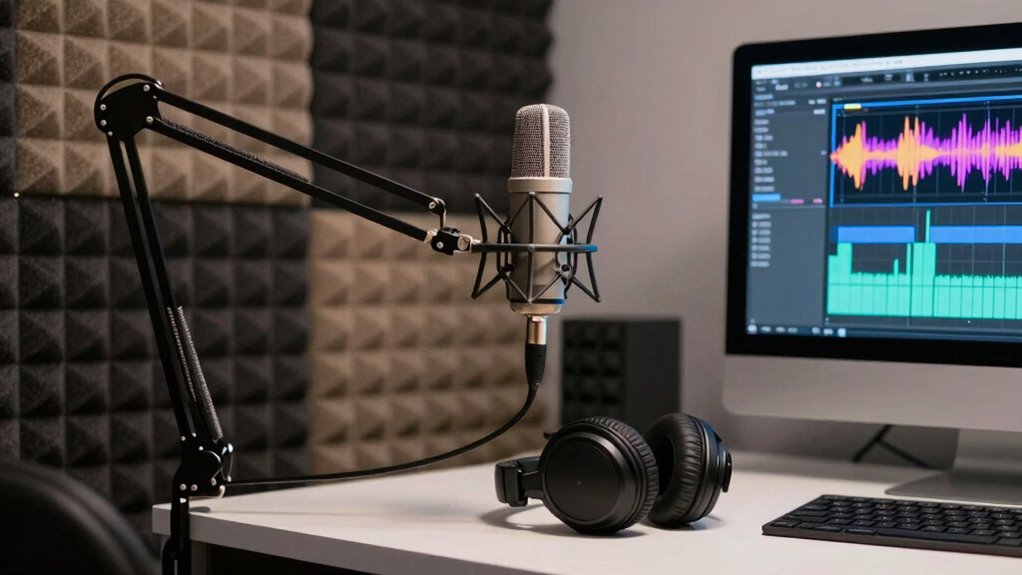
Ever wondered why your streams or calls sometimes sound muffled or distant? The answer often lies in how you handle background noise and microphone placement. When your microphone picks up too much ambient sound, it creates a cluttered audio experience, making it harder for your audience or friends to hear you clearly. To improve your audio, start by minimizing background noise. Turn off fans, air conditioners, or any devices that produce constant noise. If you’re in a noisy environment, consider using noise-canceling headphones or a microphone with built-in noise reduction features. These tools help filter out unwanted sounds, guaranteeing your voice remains front and center.
Minimize background noise and use noise-canceling tools to ensure your voice stays clear and focused.
Next, pay close attention to your microphone placement. Position your microphone close to your mouth, ideally about one to two inches away, but avoid placing it directly in front of your lips to prevent popping sounds from plosive consonants like “p” and “b.” Keep it at a consistent distance so your voice maintains a steady volume. If you’re using a headset mic, make sure it’s snug but comfortable, and adjust the boom arm so the mic is aimed directly at your mouth. For standalone microphones, a boom arm or mic stand can help you find the perfect position and keep the mic steady, avoiding accidental bumps that could cause audio fluctuations. Understanding microphone placement can significantly enhance sound clarity and overall audio quality.
Another key aspect is to avoid placing your microphone near reflective surfaces like windows or walls, as they can cause echo or reverb, making your voice sound hollow or muffled. Instead, position your mic in a small, acoustically treated space if possible, or use soft materials like foam panels or blankets to absorb excess sound reflections. Additionally, using soundproofing techniques can further improve your recording environment. Also, check your microphone’s settings and ensure it’s configured for the right input level. Too high, and your audio may clip or distort; too low, and your voice could sound faint.
Finally, test your setup before going live or making calls. Record a short clip and listen critically. Adjust your microphone placement, background noise control, and input levels accordingly. Small tweaks can make a big difference in clarity and quality. By paying attention to background noise and mic placement, you’ll dramatically improve your audio, making your streams clearer and your calls more professional. Proper setup not only enhances your sound but also shows your audience or contacts that you care about quality, making every conversation more engaging and enjoyable.
noise-canceling headphones for streaming
As an affiliate, we earn on qualifying purchases.
As an affiliate, we earn on qualifying purchases.
Frequently Asked Questions
How Do I Reduce Background Noise During Streams?
To reduce background noise during streams, activate echo cancellation and noise gating in your audio settings. Echo cancellation helps eliminate reflections and ambient sounds, while noise gating cuts off sounds below a certain volume, preventing background noise from coming through. Adjust these features carefully so your voice remains clear without cutting out important sounds. Using a quality microphone and a quiet environment also considerably improves your audio, making your streams more professional.
What Microphones Are Best for Streaming on a Budget?
Looking for budget-friendly options? Cardioid microphones are your best bet—they focus on your voice and block out background noise. Brands like Blue Snowball ICE and Fifine K669 offer great sound at a small cost. Condenser and dynamic microphones both serve well; choose based on your space and sound preferences. These types deliver clear, crisp audio without draining your wallet, making your streams sound professional and polished.
How Can I Improve Audio Delay Issues?
To improve audio delay issues, start by enabling echo cancellation in your streaming or call app settings. Use a wired connection instead of Wi-Fi to reduce latency. Adjust audio synchronization settings if available, guaranteeing your microphone and speakers are aligned. Additionally, update your audio drivers and software. These steps help minimize delay, create clearer sound, and ensure your audio stays in sync with your video, providing a better experience for your audience.
What Settings Optimize Voice Clarity on Different Platforms?
To optimize voice clarity across platforms, focus on adjusting voice modulation settings to enhance your tone and reduce distortion. Enable sound isolation features to block background noise, ensuring your voice remains clear. Use a quality microphone with noise-canceling capabilities and set appropriate gain levels. Test your setup regularly, and tailor your audio settings per platform, as each may have specific preferences that improve overall clarity and your audience’s listening experience.
How Often Should I Upgrade My Audio Equipment?
Think of your audio setup as a garden; it needs regular tending. You should upgrade your equipment when audio calibration becomes inconsistent or when equipment maintenance reveals outdated parts. Typically, every 2-3 years, consider upgrading or replacing specific components to keep sound quality sharp. Staying proactive ensures your audio garden remains lush, vibrant, and clear, preventing issues before they grow roots and affect your streaming or calls.
Conclusion
Now that you’ve fine-tuned your audio setup, imagine your voice flowing seamlessly through the air, crystal clear and warm like sunlight streaming through a window. When your sound is crisp and balanced, every call and stream feels like a face-to-face chat. With just a few adjustments, you’re ready to captivate your audience or connect with loved ones, confident that your audio will always cut through the noise—bright, clear, and unmistakably you.
Flea & tick season Picks
flea and tick prevention
As an affiliate, we earn on qualifying purchases.


![IKEA Made A Mod For Skyrim [Video]](https://digitechbytes.com/wp-content/uploads/2026/09/ikea-made-a-mod-for-skyrim-video-featured-260x140.jpg)