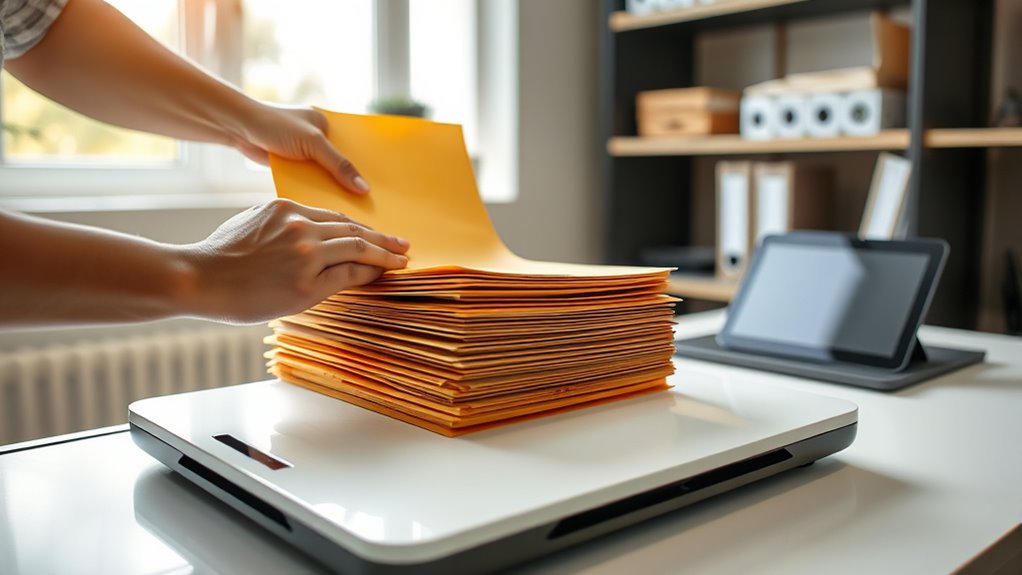

Start by gathering all your papers and sorting them into categories like bills or medical records. Use a good quality scanner, preferably with an automatic feeder, and set high resolution for clear images. Name your files clearly and organize them into digital folders matching your physical categories. Regularly back up your files and responsibly dispose of physical documents once digitized. If you continue exploring, you’ll discover effective tips to keep your system neat and efficient.
Key Takeaways
- Gather and categorize physical documents before scanning to streamline the workflow.
- Use a quality scanner with automatic document feeder and high-resolution settings for clear digital copies.
- Save files in organized folders, naming them descriptively and adding tags for easy searchability.
- Regularly back up digital files to cloud storage or external drives to prevent data loss.
- Dispose of physical documents securely after scanning and maintain a routine for ongoing document management.

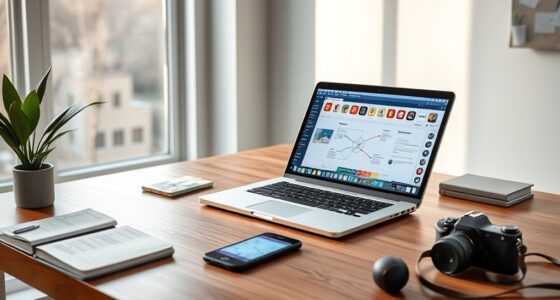
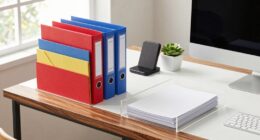
Have you ever considered scanning your documents at home to save time and keep your files organized? Digital archiving makes it easy to preserve important papers and access them whenever needed. By establishing a workflow for document scanning, you can streamline your paper organization process and reduce clutter. The first step is to gather all the papers you want to digitize. Sort through your files, discarding duplicates or outdated documents. This not only makes the process more efficient but also guarantees you’re only saving what matters. Once sorted, create designated folders on your computer or cloud storage for different categories—bills, medical records, receipts, or legal documents. This step is vital for effective paper organization, as it allows you to locate files quickly later on.
Start your digital archive by sorting and categorizing your documents for quick, organized access.
Next, choose the right scanning equipment. A quality scanner or a multi-function printer with a scanning feature can handle the job efficiently. Some models come with automatic document feeders, speeding up the process if you have large volumes of papers. When scanning, opt for high-resolution settings to guarantee the digital copies are clear and legible. Save your files in common formats like PDF or JPEG, depending on their content and future use. PDFs are ideal for documents that need to be text-searchable and easily shareable. Naming your files consistently helps maintain order; include dates or descriptive titles to make retrieval straightforward. Additionally, understanding the importance of color accuracy in home scanners can help ensure the digital copies reflect the true appearance of your original documents.
After scanning, it’s time to organize your digital files. Create folders that mirror your physical categories, and move your scanned documents into these folders. Consider adding tags or keywords to enhance searchability later. This step enhances your digital archiving system, making it simple to find specific documents without sifting through countless files. Regularly back up your digital archive to an external drive or cloud service to prevent data loss. Establishing a routine—such as scanning new documents weekly—will keep your paper organization system manageable and current.
Finally, dispose of your physical papers responsibly once they’re digitized if they no longer need to be kept in paper form. Shredding sensitive documents helps protect your privacy. By following this workflow, you create an efficient, organized digital archive that saves space, improves accessibility, and guarantees your important documents are preserved for years to come. Once you get into the habit of scanning at home, you’ll wonder how you ever managed without this streamlined approach to paper organization.
Plustek PS186 Desktop Document Scanner, with 50-Pages Auto Document Feeder (ADF). for Windows 7/8 / 10/11 (Intel/AMD only)
Up to 255 customize favorite scan file setting with "Single Touch" , Support Windows 7/8/10
As an affiliate, we earn on qualifying purchases.
As an affiliate, we earn on qualifying purchases.
Frequently Asked Questions
What Is the Best Scanner for Home Use?
You should choose a scanner with high scanning resolution, ideally 600 dpi or higher, for clear digital storage of documents. Look for models that are easy to use at home, like the Epson Perfection V600 or Canon CanoScan LiDE series. These scanners offer excellent image quality and reliable performance, making your workflow smooth. Make certain it has options for saving directly to your device or cloud, simplifying your document management process.
How Do I Organize Scanned Documents Effectively?
Ever wonder how to keep your digital storage tidy? Start by creating consistent naming conventions for your scanned files, like dates or categories. Organize them into clearly labeled folders by topic or date, and delete duplicates or outdated documents regularly. Using a logical system makes it easier to find what you need quickly. Do you prefer a chronological order or thematic grouping? Whichever, stay consistent for the best results.
Can I Scan Old Photographs Safely at Home?
Yes, you can scan old photographs safely at home. To guarantee photo preservation, handle your images with clean hands and avoid exposure to direct sunlight. Use a flatbed scanner for high-quality digital archiving, setting the resolution to at least 300 DPI. Store the original photos in acid-free sleeves afterward. This process helps protect your memories while creating durable digital copies for easy sharing and long-term preservation.
What File Formats Should I Use for Scanned Documents?
They say, “A picture is worth a thousand words,” so choose your formats wisely. For scanned documents, use PDF for easy sharing and compatibility, ensuring text remains searchable. If you need images, consider TIFF for high quality or JPEG if file size matters, but be mindful of image compression which can reduce quality. These digital file formats help keep your scans clear and accessible for years to come.
How Can I Improve Scan Quality Without Professional Equipment?
You can improve scan quality by setting up your desk properly and using effective lighting techniques. Make sure your desk is stable and well-organized to prevent movement during scanning. Use natural or soft artificial light, avoiding harsh shadows, to illuminate your documents evenly. Position your light source behind your scanner or camera, and avoid glare. These simple adjustments enhance clarity without professional equipment, resulting in sharper, clearer digital copies.

Epson Perfection V19 II Color Photo, Tax Receipt & Document Flatbed Scanner with 4800 dpi Optical Resolution USB Power, High-Rise, Removable Lid
Amazing image clarity and detail — 4800 dpi optical resolution (1), ideal for photo enlargements
As an affiliate, we earn on qualifying purchases.
As an affiliate, we earn on qualifying purchases.
Conclusion
Now that you know how to set up your own scanning workflow at home, you’re ready to save time and keep your documents organized. Imagine never losing an important paper again—doesn’t that peace of mind make it all worth it? With just a few simple tools and steps, you can create a seamless system that works for you. So, why not start today and take control of your document chaos?

Brother DS-640 Compact Mobile Document Scanner, (Model: DS640)
FAST SPEEDS – Scans color and black and white documents a blazing speed up to 16ppm (1). Color…
As an affiliate, we earn on qualifying purchases.
As an affiliate, we earn on qualifying purchases.

Brother DCP-L2640DW Wireless Compact Monochrome Multi-Function Laser Printer with Copy and Scan, Duplex, Mobile, Black & White | Includes Refresh Subscription Trial(1), Works with Alexa
BEST FOR SMALL BUSINESSES – Engineered for extraordinary productivity, the Brother DCP-L2640DW Monochrome (Black & White) 3-in-1 combines…
As an affiliate, we earn on qualifying purchases.
As an affiliate, we earn on qualifying purchases.