
To set up low-latency NDI streaming in your home studio, start by ensuring your hardware includes a fast processor, enough RAM, and a dedicated graphics card. Use a wired gigabit network, enable QoS, and prioritize NDI traffic. Install NDI tools and drivers, and configure your router for ideal bandwidth. Adjust video resolution, buffer sizes, and test for latency issues. For more detailed tips, continue with the full setup steps.
Key Takeaways
- Use a high-performance PC with a quad-core CPU, at least 8GB RAM, and a dedicated GPU for smooth NDI streaming.
- Configure your network with wired gigabit Ethernet, enable QoS, and assign static IPs to prioritize NDI traffic.
- Measure network latency with ping tests; adjust buffer sizes to balance low latency and stream stability.
- Enable low-latency mode in your streaming software and reduce video resolution/bitrate to minimize delay.
- Regularly update drivers, firmware, and software; perform hardware tests and backups to maintain optimal performance.
Anautin Starlink Gen 3 Mount — Adjustable 180°-Degree Installation kit with Waterproof Design Suitable for Wooden Roofs and Walls, ensuring Optimal Satellite Internet Signal Alignment.
Versatile Wall Compatibility Ideal for Starlink Gen 3 Installation Engineered for mud walls and wooden surfaces, this Starlink...
As an affiliate, we earn on qualifying purchases.
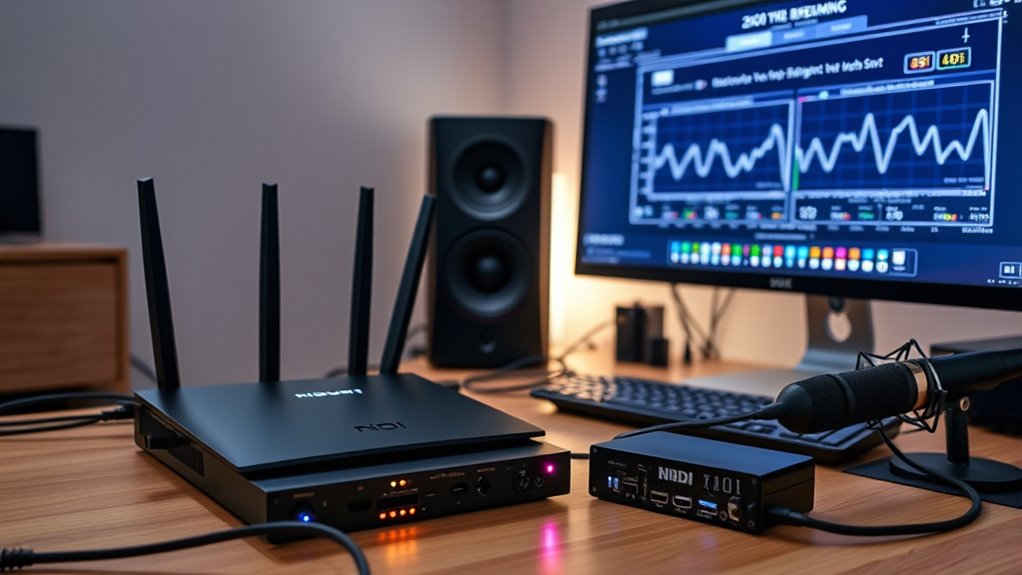
Assess Your Hardware and Network Requirements
Before setting up low-latency NDI streaming, you need to evaluate whether your hardware and network can handle the demands. Your computer should have a fast processor, at least a quad-core CPU, to process multiple streams smoothly. Make sure you have enough RAM—8GB or more—to prevent lag during intensive tasks. A dedicated graphics card can also improve performance, especially if you’re running high-resolution feeds. On the network side, a wired Ethernet connection is essential for stability and low latency, ideally with gigabit speeds. Check your router’s capabilities to ensure it can handle multiple high-bandwidth streams without congestion. Conduct speed tests to verify your upload and download speeds meet the requirements for your streaming quality. Upgrading your hardware or network setup might be necessary to attain ideal low-latency performance. Additionally, ensuring your streaming setup includes Hyundai Tuning components can optimize system responsiveness and reliability during broadcasts.

STARLINK Mini Kit - 4th Gen Mini Antenna with Wi-Fi Router – Star Links High-Speed Internet for RVs, Camping, Travel, Remote Work, and Off-Grid Use, Internet Kit
INSTALLATION FEATURES: Includes mounting hardware and adjustable stand for optimal positioning and signal reception
As an affiliate, we earn on qualifying purchases.
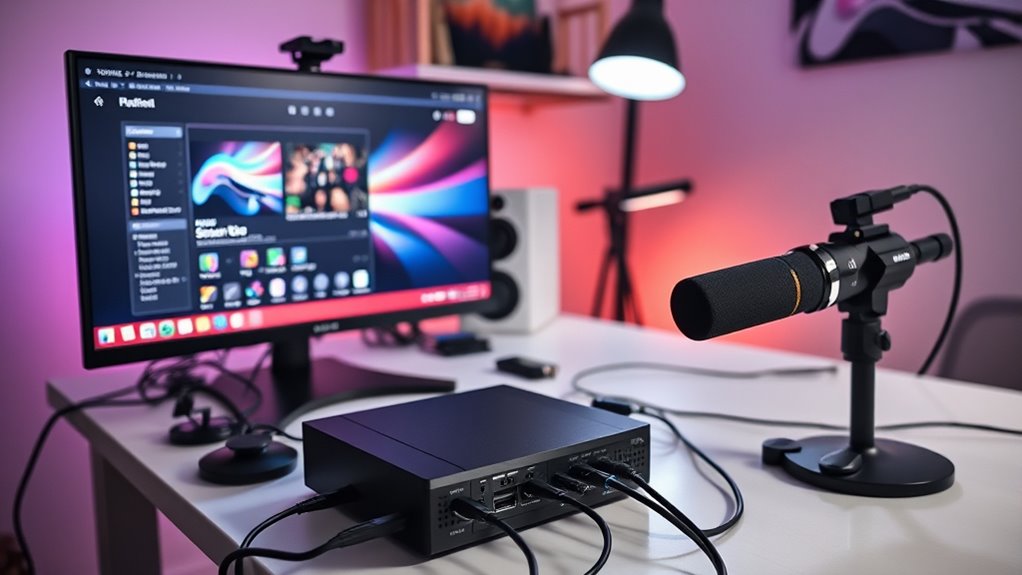
Install Necessary NDI Software and Drivers
To guarantee your system can handle low-latency NDI streaming, you need to install the correct NDI software and drivers. Start by downloading the NDI tools from the official NewTek website, which includes essential applications like NDI Scan Converter and NDI Studio Monitor. Next, install the NDI driver for your capture cards or video sources, ensuring compatibility with your hardware. Follow the on-screen instructions carefully to complete the installation. Restart your computer if prompted. It’s important to keep your drivers up to date, as updates often improve performance and fix bugs. Once installed, confirm that your devices are recognized within your streaming or production software. Proper installation of these components guarantees smooth, low-latency streaming without interruptions or lag. Additionally, verifying hardware compatibility can help prevent potential issues during streaming.

STARLINK Mini 2026 Portable Satellite Internet Terminal, High-Speed Connectivity System with Phased-Array Antenna, Wi-Fi Router for Remote Areas, Off-Grid Travel
PORTABLE 4TH GEN DESIGN – Compact satellite internet antenna with the latest 4th generation technology, built for easy...
As an affiliate, we earn on qualifying purchases.
Optimize Your Network for Low Latency
Ensuring your network is configured correctly is essential for achieving low-latency NDI streaming, as a stable and fast connection minimizes delays and buffering. To do this, focus on these key steps:
A stable, fast network is essential for low-latency NDI streaming and minimal buffering.
- Use a wired Ethernet connection instead of Wi-Fi for a more reliable, faster link.
- Prioritize streaming traffic through Quality of Service (QoS) settings to reduce lag.
- Limit network devices during streaming to prevent bandwidth congestion.
- Update your network firmware regularly to ensure optimal performance and security.
- Monitor your network’s performance to identify and address potential bottlenecks for better stability.

Starlink Gen-3 Standard Kit – High-Speed, Low-Latency Satellite Internet with Wi-Fi 6 Router & Power Supply – Reliable Internet for Homes, RVs & Remote Locations
Next-Gen Satellite Internet – Fast & Reliable: Get high-speed broadband anywhere — perfect for rural, off-grid, or mobile...
As an affiliate, we earn on qualifying purchases.
Configure Your Router for Streaming Performance
Properly configuring your router is essential for maximizing streaming performance. Start by enabling Quality of Service (QoS) settings to prioritize NDI traffic. This ensures your streaming data gets bandwidth before other network activities. Also, assign static IP addresses to your streaming devices for consistent routing. Consider creating a dedicated network segment for your studio gear, isolating it from other household devices. Additionally, adjusting your network’s contrast ratio can help optimize the clarity and detail of your streams.
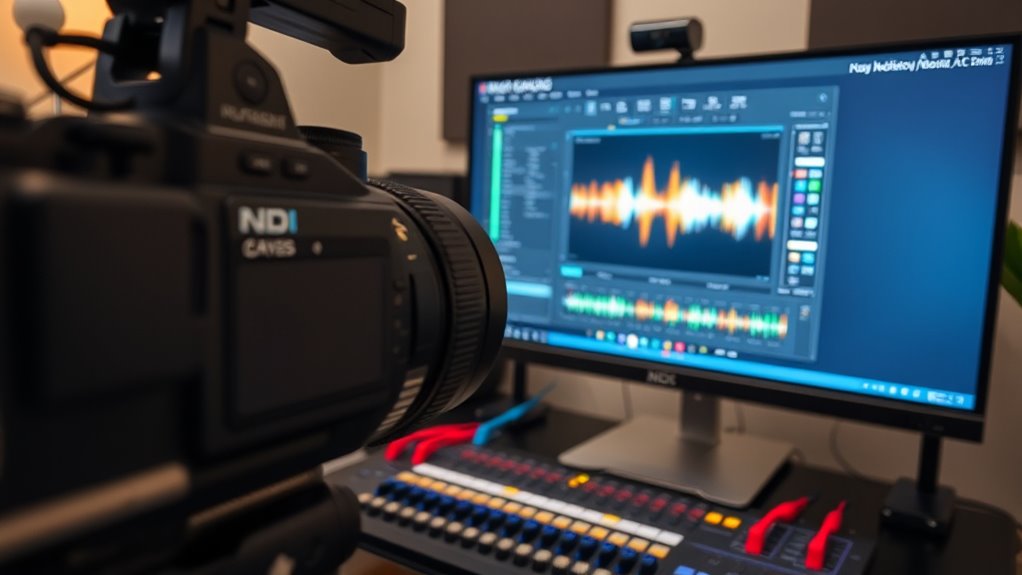
Set Up Your NDI Sources and Outputs
Setting up your NDI sources and outputs is a straightforward process that guarantees your video feeds are reliably transmitted across your network. First, identify your video sources—cameras, computers, or other devices—and make sure they’re connected to your network. Next, assign each source a unique name to keep things organized. Then, configure your output devices, like monitors or streaming software, to recognize these sources. Finally, verify the connection by checking the feed’s quality and latency.
Here’s what you should do:
- Connect your devices to the same network for seamless communication.
- Name your sources clearly for easy identification.
- Configure your output devices to recognize your sources.
- Test each source and output to confirm smooth, low-latency streaming.
Adjust Video and Audio Settings for Minimal Delay
To minimize latency, you should optimize your buffer settings and enable low-latency mode on your devices. These adjustments help your video and audio stream more quickly and smoothly. Making these changes guarantees you get the minimal delay needed for real-time NDI streaming. Additionally, understanding grocery savings strategies can help you allocate resources toward better streaming equipment or software.
Optimize Buffer Settings
Adjusting buffer settings is essential for achieving low-latency NDI streaming, as it directly impacts the delay between source and display. Proper buffer management reduces lag, ensuring real-time responsiveness. To optimize, focus on:
- Lower buffer sizes—minimize delay but watch for potential stuttering.
- Balance audio buffers—prevent audio lag or dropouts.
- Test different configurations—find the sweet spot between latency and stability.
- Monitor performance continuously—adjust settings as your setup or network conditions change.
- Be aware of the performance tuning options available in your streaming software to fine-tune latency and stability.
Enable Low-Latency Mode
Enabling low-latency mode is crucial for minimizing delay in NDI streaming, as it prioritizes real-time performance over other factors. To do this, access your streaming or production software settings and locate the latency or performance options. Turn on the low-latency mode feature, which reduces buffering and processing delays. You may also need to adjust video and audio quality settings—lower resolutions and bitrates can help decrease latency further. Confirm your network settings support this mode, as a stable, high-speed connection is essential. Keep in mind that enabling low-latency mode might slightly impact image quality, but it’s a worthwhile trade-off for minimal delay. Once activated, test your stream thoroughly to confirm that latency is minimized and performance is smooth. Additionally, understanding Nail Tips can help optimize your setup for better streaming aesthetics if you’re incorporating visual elements into your content.
Test Your Setup and Fine-Tune Latency Parameters

To guarantee your setup delivers low latency, you need to measure it accurately and identify any delays. Adjust your buffer settings to find the right balance between stability and speed. Fine-tuning these parameters helps you achieve the best performance for your streaming needs. Additionally, understanding the performance characteristics of your hardware can help you optimize your configuration for low-latency streaming.
Measure Latency Accurately
Measuring latency accurately is essential to ensuring your NDI streaming setup performs at its best. When you precisely gauge delay, you can identify issues and optimize performance. Here’s how to do it confidently:
- Use a reliable testing tool to send a test signal and record the time it takes to return.
- Compare data points to find the exact latency, avoiding guesswork.
- Repeat measurements multiple times to ensure consistency and spot fluctuations.
- Adjust your setup based on the data, knowing exactly where delays occur.
Adjust Buffer Settings
Adjusting buffer settings is a crucial step in fine-tuning your NDI streaming performance. Buffer size impacts latency and stability; smaller buffers reduce delay but can cause dropouts, while larger buffers improve stability but add latency. To find the right balance, start by lowering your buffer size gradually and test your stream’s responsiveness. Monitor for dropped frames or audio glitches, then increase the buffer if issues occur. Use dedicated testing tools or simple ping tests to measure latency after each adjustment. Keep in mind, your hardware and network conditions influence ideal settings. Fine-tuning involves iterative adjustments—small changes can make a big difference. Once you achieve low latency without stability issues, your setup is optimized for smooth, real-time NDI streaming in your home studio. Additionally, understanding network conditions and their impact on streaming performance can help you make more informed adjustments.
Implement Redundancy and Backup Measures

Implementing redundancy and backup measures is essential to guarantee your NDI streaming remains uninterrupted even if a component fails. You need to build a safety net that keeps your stream steady and reliable. Consider these critical steps:
Ensuring uninterrupted NDI streaming requires robust redundancy and backup strategies.
- Use multiple network connections to ensure your stream stays live if one connection drops.
- Set up backup power supplies so your equipment remains operational during outages.
- Implement redundant hardware, like second capture cards or streaming devices, to instantly switch if primary gear fails.
- Regularly back up your configurations and settings, allowing quick restoration when needed.
- Monitor your network performance continuously to proactively address potential issues before they impact your stream, as understanding network conditions is crucial for reliable streaming quality.
Troubleshoot Common NDI Streaming Issues

If your NDI stream is experiencing issues, start by checking your network bandwidth to make certain it can handle the data load. Next, verify that all hardware components are compatible and functioning correctly. Addressing these common points often resolves many streaming problems quickly.
Network Bandwidth Needs
Since NDI streaming relies heavily on your network’s capacity, insufficient bandwidth can lead to lag, dropped frames, and poor video quality. To guarantee smooth streaming, you need to meet specific bandwidth requirements. Here’s what can happen if your network isn’t up to the task:
- Experience frustrating delays that interrupt your workflow.
- See moments of frozen video that break your immersion.
- Encounter choppy audio and video sync issues.
- Feel the stress of constant troubleshooting instead of creating.
To avoid these issues, check your network’s upload and download speeds, upgrade your router if needed, prioritize NDI traffic with Quality of Service (QoS), and minimize other bandwidth-consuming activities during streaming. Proper bandwidth ensures your stream stays seamless and professional.
Compatible Hardware Checks
Troubleshooting common NDI streaming issues often starts with checking your hardware compatibility. Verify your devices support NDI by confirming their network interfaces, processing power, and graphics capabilities. Older or underpowered computers may struggle with high-quality streams, causing latency or dropped frames. Update your network drivers and firmware to the latest versions, as outdated software can cause connectivity problems. Confirm that your network switch or router supports gigabit Ethernet and has features like Quality of Service (QoS) enabled to prioritize NDI traffic. Also, check that all hardware components meet the minimum specifications recommended for NDI streaming. Running hardware diagnostics or using NDI tools can help identify issues early. Properly compatible and updated hardware ensures a smoother, low-latency streaming experience in your home studio.
Maintain and Update Your Streaming System

Regularly maintaining and updating your streaming system guarantees peak performance and reduces the risk of unexpected issues. Staying proactive guarantees your setup runs smoothly, so you can focus on delivering quality content. Here’s what you should do:
- Check for software updates to improve stability and security.
- Test your hardware regularly to catch potential failures early.
- Clean your equipment to prevent overheating and ensure longevity.
- Backup your settings and configurations to recover quickly from any disruptions.
Frequently Asked Questions
Can I Use NDI Streaming on Older or Low-Spec Hardware?
You can use NDI streaming on older or low-spec hardware, but performance might vary. Lower-end devices may struggle with high-quality streams or multiple sources, leading to lag or choppy video. To improve your experience, optimize your system by closing unnecessary programs, lowering stream resolution, and ensuring your network is stable. While it’s possible, upgrading hardware will give you smoother, more reliable NDI streaming for your home studio.
What Are the Best Practices for Securing My NDI Streams?
Did you know that over 60% of streamers face security issues? To secure your NDI streams, always use strong, unique passwords and enable encryption if available. Keep your firmware and software updated to patch vulnerabilities. Use a dedicated network for streaming, and consider setting up VLANs to isolate your streams. Regularly monitor your network activity to spot suspicious behavior, ensuring your content stays safe from unauthorized access.
How Does Network Congestion Affect Low-Latency NDI Performance?
Network congestion can substantially impact your low-latency NDI performance by causing delays, dropped frames, and instability. When your network is overloaded with traffic, data packets struggle to reach their destination quickly, increasing latency. To maintain smooth streaming, you should prioritize NDI traffic, use a dedicated network, and guarantee your bandwidth is sufficient. Managing congestion helps you achieve reliable, low-latency streams essential for real-time production quality.
Is There a Recommended Bitrate for Optimal NDI Video Quality?
When choosing a bitrate for ideal NDI video quality, you should aim for a balance between clarity and network stability. Typically, a bitrate of around 100-200 Mbps works well for high-quality streaming, but if your network is congested, lower bitrates like 50-100 Mbps might be necessary to reduce lag and prevent jitter. Always test your setup to find the best compromise for your specific network conditions.
How Do I Integrate NDI With Other Streaming or Broadcasting Platforms?
Imagine your stream as a well-orchestrated symphony. To integrate NDI with other platforms, you first guarantee your NDI sources are properly configured and on the same network. Then, use compatible streaming software like OBS or vMix that supports NDI input/output. Connect your NDI feed to these tools, select your streaming platform (Twitch, YouTube), and configure your stream key. This seamless integration delivers professional-quality broadcasts effortlessly.
Conclusion
By following these steps, you’ll transform your home studio into a low-latency NDI streaming powerhouse. Think of your setup as a finely tuned orchestra—each component must play in harmony for flawless performance. With attention to hardware, network, and configuration, you’ll conquer latency and deliver professional-quality streams. Don’t let technical hurdles silence your creativity; instead, let your optimized system be the stage where your vision shines brightest.