
To transfer an eSIM between phones, first confirm your new device supports eSIM and that your carrier is compatible. Then, deactivate or delete the eSIM profile on your old phone through your settings. Next, scan the QR code provided by your carrier during setup on your new device or follow alternative activation steps if available. Once completed, your new phone should connect to your carrier’s network. Keep going for detailed steps and tips to guarantee a smooth transfer.
Key Takeaways
- Confirm both devices support eSIM technology and are compatible with your carrier.
- Deactivate or delete the eSIM profile on the current phone before transferring.
- Obtain the new device’s activation details, such as a QR code from your carrier.
- Use the new phone’s settings to scan the QR code and activate the eSIM profile.
- Verify the eSIM transfer by ensuring the new device connects to the carrier’s network successfully.
Transferring an eSIM between phones is a straightforward process that allows you to switch devices without needing a physical SIM card. The key first step is ensuring that your new phone is compatible with eSIM technology. Not all devices support eSIM activation, so it’s essential to check if your new phone is compatible with your carrier’s network. Most recent flagship smartphones, like the iPhone 13 and later or select Android devices, support eSIM, but older models may not. Before proceeding, verify your phone’s specifications and confirm with your carrier that it can handle an eSIM transfer.
Once you confirm phone compatibility, the next step is to prepare your current device. You’ll typically need to deactivate or delete the existing eSIM profile from your current phone. This process varies depending on your device, but it often involves navigating to the cellular or mobile data settings, selecting your eSIM plan, and choosing the option to remove or deactivate it. Doing this ensures the eSIM profile is freed up for activation on your new device.
Deactivate or remove your current eSIM profile to prepare for transfer.
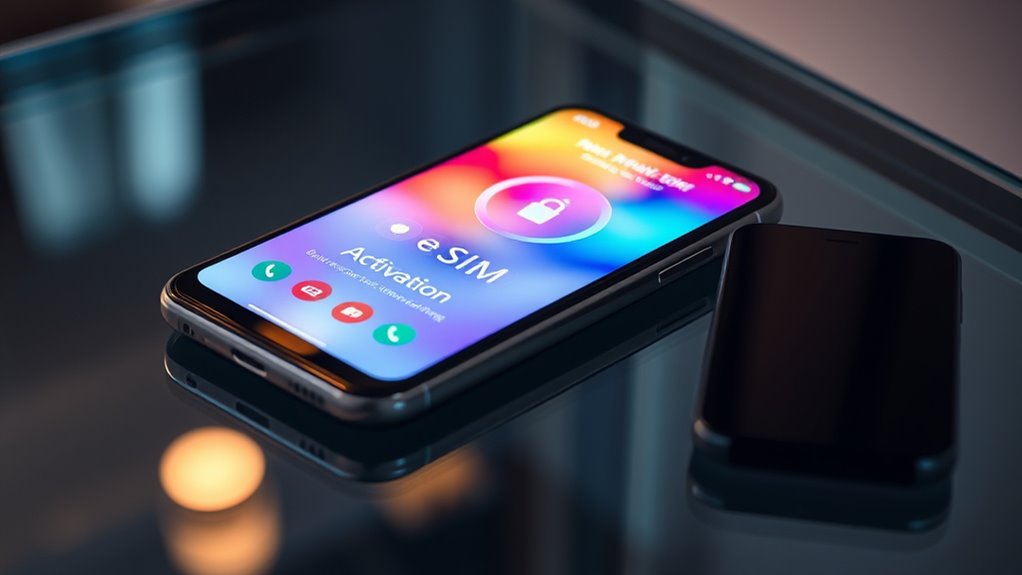
For eSIM activation on your new phone, you’ll usually receive a QR code from your carrier, either via email or through their app. When you’re ready, turn on your new device, and go to the cellular setup or eSIM activation section in the settings menu. Use your phone’s camera to scan the QR code provided, which securely links your carrier’s profile to your device. Some carriers also support activation via an app or manual entry of activation codes, so follow the instructions provided by your carrier carefully.
During this process, make sure your new device has a stable internet connection, either through Wi-Fi or cellular data, to facilitate the activation. Once the QR code is scanned or the activation details are entered, your phone will communicate with your carrier’s servers to complete the transfer. This step might take a few moments, so be patient.
In addition, understanding the principles of green-chemistry] can help consumers make more environmentally friendly choices when selecting device accessories or managing electronic waste. Once the transfer is complete, your new device will connect to your carrier’s network, and you should see your mobile service working as usual.
Frequently Asked Questions
Can I Transfer an Esim Without an Internet Connection?
No, you can’t transfer an eSIM without an internet connection. eSIM activation requires an active internet connection to download and verify the profile. Additionally, you need to make sure device compatibility since not all phones support eSIM functionality. To transfer an eSIM, connect to Wi-Fi or mobile data, then follow your carrier’s instructions for activation and device compatibility. This process can’t be completed offline because it involves secure activation steps.
Is There a Fee to Transfer an Esim Between Devices?
No, there’s usually no fee for eSIM activation or transferring between devices. You simply need to guarantee device compatibility, which is vital because not all phones support eSIM transfers. The process is straightforward—just follow your carrier’s instructions. Think of it as a quick, hassle-free swap that doesn’t cost a dime, so you can enjoy your new device without worrying about extra charges or complicated steps.
How Long Does the Esim Transfer Process Usually Take?
The eSIM activation process usually takes just a few minutes, but it can sometimes take up to an hour depending on your carrier. Make sure your new device is compatible with eSIM technology to avoid delays. You’ll need to scan a QR code or use your carrier’s app for the transfer. Once completed, your eSIM should activate quickly, allowing you to start using your new phone without any hassle.
What Should I Do if the Esim Transfer Fails?
If your eSIM transfer fails, first verify your device is compatible with eSIM activation. Restart your phone and double-check your carrier’s instructions. If it still doesn’t work, contact your carrier’s support team for assistance—they can verify device compatibility and help troubleshoot the issue. Sometimes, a manual reset or reattempting the transfer process resolves the problem. Don’t hesitate to seek help if needed to activate your eSIM successfully.
Can I Transfer an Esim Across Different Carriers?
Yes, you can transfer an eSIM across different carriers, but it depends on carrier compatibility and eSIM activation policies. First, check if your new carrier supports eSIM activation on your device. Then, contact your current carrier to ensure they allow eSIM transfers and follow their instructions. Keep in mind, some carriers may require you to deactivate the eSIM before switching, so confirm their process to avoid issues.
Conclusion
Transferring an eSIM between phones is pretty straightforward if you follow the steps. Just like dialing up your trusty dial-up internet back in the day, it might seem old-fashioned, but it gets the job done. Make sure to deactivate the eSIM on your old device before activating it on your new one. With a little patience, you’ll have your new phone connected in no time, ready to surf the web faster than you can say “hacker.”