To migrate from Google Authenticator to passkeys safely, start by checking if your devices and accounts support passkeys, updating your OS and browsers as needed. Back up your existing authentication data securely before turning off 2FA with Google Authenticator. Then, set up passkeys on each device, verify they work across platforms, and disable old 2FA methods. Following these steps guarantees a smooth transition — keep exploring to learn more about securing your digital life.
Key Takeaways
- Backup existing Google Authenticator codes and recovery options before disabling 2FA.
- Verify passkey support and enable it in account security settings across all services.
- Securely transfer account access by following platform-specific instructions for passkey setup.
- Test login with passkeys on multiple devices to ensure smooth migration and functionality.
- Remove old Authenticator apps after confirming successful passkey activation and account access.
Assessing Compatibility and Preparing Your Devices
Before switching from Google Authenticator to Passkeys, you need to make sure your devices are compatible. Check if your smartphone or computer supports Passkeys, which often requires the latest OS updates—iOS 16.4 or later, Android 13 or newer, or recent Windows and macOS versions. Visit your device’s settings or manufacturer’s website to confirm compatibility. Some older devices might lack the necessary hardware or software to handle Passkeys securely. Making sure your device supports the appropriate operating systems is essential for a seamless transition. Ensure that your browser is up to date, as modern browsers like Chrome, Edge, or Safari are required for Passkey support. Additionally, verify that your authentication apps are updated or replaced with supported ones. Preparing your devices now helps avoid interruptions later and guarantees a smooth transition to Passkeys.
Backing Up Your Existing Authentication Data
To guarantee your accounts stay secure during the migration, you’ll need to export your existing authentication codes. Confirm to store this backup in a secure location to prevent unauthorized access. Afterward, verify the backup’s accuracy to avoid potential issues when restoring or shifting your data. Be sure to review our privacy and cookie usage policies to understand how your data may be managed during this process.
Export Existing Codes
Since your authentication data is vital for account recovery, it’s imperative to back it up before making any changes. Export your existing codes to guarantee you can restore access if needed. Most authenticator apps allow you to export your codes as a file or QR code. Follow the app’s instructions to generate this backup. Keep this export secure and private. To help you stay organized, here’s a quick overview:
| Step | Action | Result |
|---|---|---|
| Open app | Navigate to account settings | Access export options |
| Export codes | Choose export method (file/QR code) | Save backup securely |
| Store securely | Keep the backup in a safe location | Prevent unauthorized access |
This ensures your data is ready for a smooth transition. Additionally, understanding authentication data is crucial for maintaining your account security.
Secure Backup Storage
Securing your backup is essential to prevent unauthorized access and guarantee your authentication data remains protected. Store your backup in a secure location, such as an encrypted external drive or a password-protected cloud service. Avoid saving backups on easily accessible devices or unsecured networks. Use strong, unique passwords for your storage solutions, and enable two-factor authentication if available. Consider encrypting your backup files separately from the storage location to add an extra layer of security. Keep your backup in a physical location only you can access, like a safe or lockbox, to prevent theft or accidental loss. Regularly review and update your backup storage practices to ensure your authentication data stays safe throughout your migration process. Additionally, being aware of local business hours can help you plan your backup management during appropriate times.
Verify Backup Integrity
Before relying on your backup, it’s essential to verify its integrity to guarantee your authentication data is complete and uncorrupted. First, check that the backup file is accessible and opens without errors. If you’ve stored it in a cloud or external device, ensure the data isn’t corrupted or incomplete by opening or restoring a test account. Confirm that all necessary information, such as recovery codes or QR codes, is present and legible. If your backup includes encrypted data, verify that you can decrypt it successfully. Avoid proceeding with an unreliable backup, as corrupted or incomplete data could lock you out of your accounts. Regularly verifying your backup’s integrity ensures that your authentication information remains safe and accessible when you need it. Additionally, understanding the importance of appliance maintenance plans can help you keep your devices running smoothly, preventing disruptions similar to losing access due to backup issues.
Setting Up Your Passkeys on Supported Devices
To set up your passkeys on supported devices, start by guaranteeing your device’s operating system is up to date, as newer versions often include necessary security features. Once updated, enable passkey support in your device’s security settings. You’ll typically need to create or link your passkeys through a compatible app or platform. To visualize, here’s a quick overview:
| Device Type | OS Requirement | Setup Step |
|---|---|---|
| Smartphone | iOS 16+ / Android 13+ | Open Settings > Security > Passkeys |
| Laptop/PC | Windows 11 / macOS Ventura | Use system settings or browser options |
| Supported Browsers | Latest versions | Access websites supporting passkeys |
This process ensures your devices are ready to securely store and use your passkeys, which is increasingly important as security measures evolve to protect user data.
Transitioning Your Accounts to Passkeys Step-by-Step
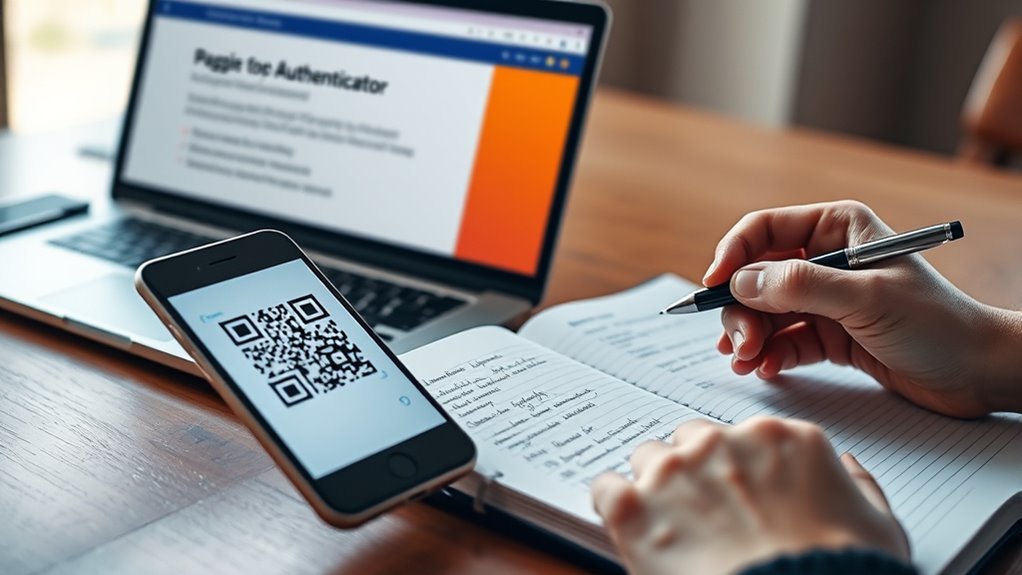
To start shifting your accounts to passkeys, first prepare your devices by ensuring they’re compatible and updated. Then, enable passkey support on each service you use, following their specific instructions. Finally, transfer your accounts securely to avoid any access issues and confirm everything works smoothly. It’s also helpful to verify that your devices are capable of handling secure storage methods for maximum safety.
Prepare Your Devices
As you prepare your devices for the shift, start by making certain they are updated to the latest software versions. Operating system updates often include security enhancements and compatibility improvements crucial for passkey support. Check for updates on your smartphones, tablets, and computers, installing any available patches. Also, verify that your browsers are current, since many passkey implementations rely on the latest browser features. Back up important data before proceeding, just in case. Disable any third-party security apps that might interfere with authentication processes temporarily. Make sure your device’s Bluetooth and Wi-Fi are active if needed for syncing or setting up passkeys. Taking these steps helps prevent issues during migration and makes certain your devices are ready to support passkeys securely and smoothly. Ensuring device readiness is essential for a seamless transition to passkeys.
Enable Passkey Support
Begin by checking if your accounts support passkeys, which is often indicated in their security or account settings. If they do, activate passkey support by following the platform’s instructions. Usually, you’ll find an option labeled “Enable Passkeys” or “Use Passkeys” within security options. Click or toggle this feature to activate it. Some services may prompt you to verify your identity through your existing login methods before enabling passkeys. Once activated, your account will be ready to use passkeys for future logins, replacing traditional passwords or authenticators. Remember, enabling passkeys is a vital step toward a more secure, passwordless experience. Take your time to explore each account’s options to guarantee consistent support across all your services. Additionally, being aware of grocery store hours can help you plan your shopping trips efficiently, especially during holiday seasons or extended hours.
Transfer Accounts Securely
Before you start transferring your accounts to passkeys, it’s important to back up your current authentication methods, such as recovery codes or backup phone numbers. This guarantees you won’t lose access if something goes wrong. When switching, follow a step-by-step process:
| Step | Action | Result |
|---|---|---|
| 1 | Log into your account | Access to security settings |
| 2 | Disable 2FA with Google Authenticator | Prepare for passkey setup |
| 3 | Enable passkey support | Secure, modern login method |
| 4 | Confirm account transfer | Seamless transition |
Visualize your account as a bridge, moving from old security to new. Take it one step at a time to keep your accounts safe.
Verifying Successful Migration and Access Recovery

Once you’ve completed the migration process, it’s vital to verify that everything works correctly and you can access your accounts without issues. First, try logging into each account using your new passkeys, ensuring you’re prompted correctly and can authenticate smoothly. Second, test access on different devices or browsers to confirm consistency across platforms. Third, keep backup options handy—like recovery codes or alternative login methods—in case you encounter problems. Fourth, ensure that your security features are functioning properly to protect your accounts effectively. If you experience any issues, reset your authentication settings immediately, and consult account support if needed. Confirming successful migration ensures your accounts are secure and accessible, giving you peace of mind. Performing these checks helps prevent lockouts and guarantees your transition to passkeys is seamless.
Deactivating Google Authenticator and Securing Your Accounts
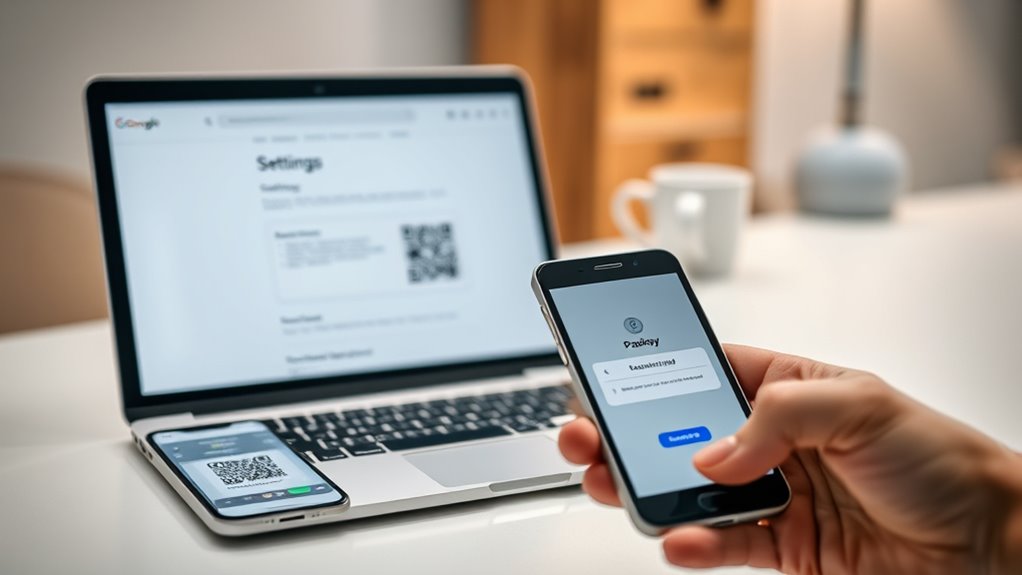
After confirming that your passkeys work correctly and you can access your accounts smoothly, it’s important to deactivate Google Authenticator to prevent redundant or conflicting security measures. Log into each account where you used Google Authenticator, then navigate to the security settings. Look for the two-factor authentication or MFA options, and disable or remove Google Authenticator. This step reduces confusion and minimizes the risk of accidental lockouts. Make sure you’ve backed up any recovery codes or alternative methods before disabling 2FA. Once deactivated, test your account access to confirm everything works seamlessly with your new passkeys. Removing the old authenticator app helps streamline your security setup and ensures your accounts are protected solely by your updated authentication method.
Maintaining Best Practices for Ongoing Security

To keep your accounts secure over time, it’s essential to follow ongoing best practices for security. First, regularly update your passkeys and security settings to address new threats. Second, enable multi-layered protections, like device encryption and biometric locks, to add extra hurdles for attackers. Third, stay informed about the latest security updates and threats by following trusted sources. By doing this, you reduce vulnerabilities and guarantee your account remains protected. Avoid sharing your recovery information or passkeys with anyone, and never reuse passwords across platforms. Regularly review your account activity logs to spot suspicious behavior early. Consistently applying these practices helps you maintain a strong security posture, preventing unauthorized access and keeping your data safe over time.
Frequently Asked Questions
Can I Use Passkeys Across Different Platforms and Operating Systems?
You might wonder if passkeys work across different platforms and operating systems. The good news is, yes, they do. Passkeys are designed to be compatible with multiple devices and systems, making your login process seamless. You can use them on Windows, macOS, Android, and iOS, provided the platform supports the standard. Just make certain your device and app are updated to handle passkeys for secure, easy authentication everywhere you go.
What Should I Do if My Devices Are Lost or Stolen During Migration?
What if your devices are lost or stolen during migration? It’s vital to act quickly. You should immediately revoke access or disable passkeys on the lost devices through your account settings. Contact support if needed, and enable multi-factor authentication on your backup methods. Does it seem overwhelming? Don’t worry—having recovery options in place before migration ensures you can regain access easily and keep your accounts secure.
Are Passkeys Compatible With All Online Services and Apps?
You might wonder if passkeys work everywhere. While many major online services support passkeys, not all do yet. Compatibility is improving as more platforms adopt this technology, but some apps still rely on traditional methods like passwords or authenticators. To stay secure, check each service’s support for passkeys before migrating. Over time, expect broader adoption, making it easier to use passkeys across all your online accounts.
How Do I Handle Multiple Accounts With Different Authentication Methods?
When managing multiple accounts with different authentication methods, you should organize your credentials carefully. Use a secure password manager to store all login details, including passkeys and authenticator codes. Regularly update your recovery options, and guarantee each account has strong, unique passwords. If possible, convert accounts to passkeys for added security. Staying organized helps you avoid confusion and keeps your online identities protected.
What Are the Potential Security Risks During the Migration Process?
During your migration, you face potential security risks like exposing your accounts to interception or unauthorized access if you don’t handle the process carefully. Phishing attempts or malware could target you while transferring credentials. To stay safe, make sure you use secure networks, verify websites, and back up your data. Never rush the process, and double-check each step to minimize risks and protect your accounts throughout the transition.
Conclusion
Remember, change is the only constant, and staying proactive keeps your accounts secure. By carefully evaluating compatibility, backing up data, and following the steps to set up passkeys, you’ll simplify your security without sacrificing safety. Once you’ve verified everything, deactivate Google Authenticator and keep best practices in mind. As the saying goes, “A stitch in time saves nine”—taking these steps now ensures smoother access and stronger protection for your digital life.
