To host a local Git server on Synology DSM 8, start by updating DSM and installing the Git package from Package Center. Set a static IP, enable SSH, and create user accounts with proper permissions. Secure access by generating SSH keys and changing the default SSH port. Initialize your repositories and clone them from your devices. For detailed steps on setup, management, and security practices, keep exploring further.
Key Takeaways
- Install the Git package via Synology Package Center and configure repository directories with proper permissions.
- Enable SSH access, generate SSH keys, and secure the server by changing default ports and disabling password login.
- Create individual user accounts with tailored permissions for secure and controlled repository access.
- Maintain regular backups, update DSM and Git packages, and monitor system logs for stability.
- Follow best practices for version control workflows, SSH key management, and access restrictions to ensure security.
Preparing Your Synology NAS for Git Server Setup
Before setting up your Git server, you need to prepare your Synology NAS to make sure it can handle the installation and operation smoothly. First, verify your NAS runs the latest DSM version to avoid compatibility issues. Check your storage capacity and free space; hosting repositories requires adequate space for data and backups. Set a static IP address for your NAS to keep network settings consistent. Enable SSH access for secure remote management, and consider creating a dedicated user account with appropriate permissions for Git operations. Update all installed packages and enable the necessary network ports, such as 22 for SSH. Finally, back up your NAS configuration to prevent data loss during setup. Proper preparation guarantees a smoother installation process and reliable Git hosting. Additionally, understanding software compatibility helps ensure that your NAS can support the Git server software effectively.
Installing and Configuring Git on Synology DSM 8
You’ll start by installing the Git package on your Synology DSM 8. Next, you’ll configure repository paths to organize your projects effectively. Finally, setting user permissions guarantees secure access for everyone involved. To ensure your setup supports collaborative development, consider access control configurations that manage who can modify or view repositories.
Installing Git Package
To set up your own Git server on Synology DSM 8, start by installing the Git package through the Package Center. Open the Package Center from your DSM desktop, then search for “Git” in the search bar. Once you find the Git package, click “Install” to begin the installation process. The system will download and install the necessary files automatically. After installation completes, you’ll see Git listed in the Installed Packages section. You’re now ready to move on to configuring your repositories. Make sure your DSM system is up to date before installing, and ensure you have administrative privileges to complete the process smoothly. Creating a secure environment for your repositories is essential for safe management. Installing Git this way provides a reliable foundation for hosting and managing your repositories locally.
Configuring Repository Paths
Once you’ve installed the Git package on your Synology DSM 8, the next step is to configure your repository paths to guarantee your repositories are stored securely and are easy to access. Properly setting your paths prevents disorganization and potential data loss. To do this, consider the following:
- Choose a dedicated folder within your DSM file system for all repositories.
- Create subfolders for different projects or teams for better organization.
- Set appropriate permissions on your repository folders to control access.
- Confirm the storage location has sufficient space for your current and future repositories.
- Incorporate version control best practices to enhance your repository management and collaboration.
Setting User Permissions
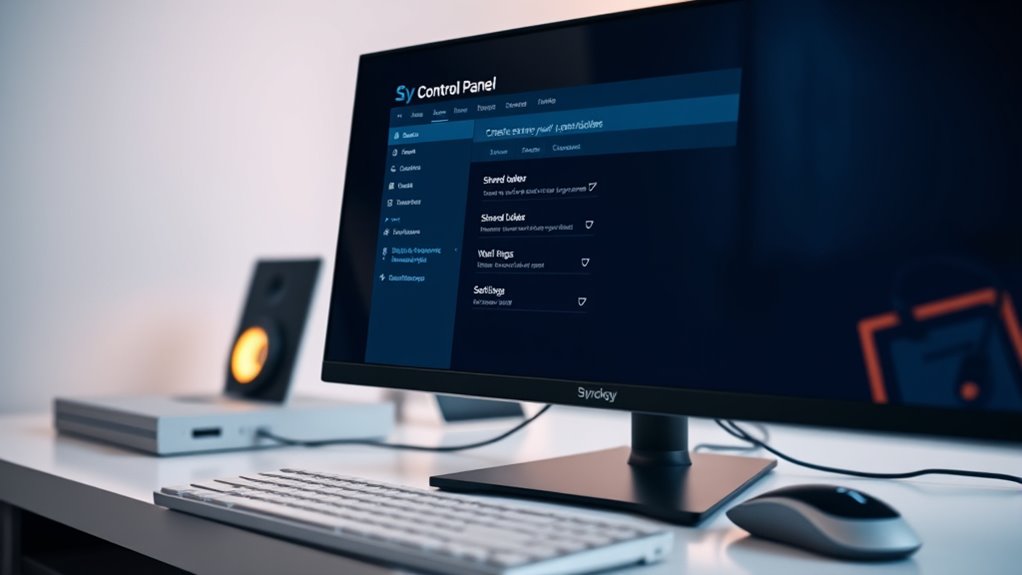
After setting up your repository paths, the next step is to configure user permissions to guarantee secure and controlled access. On Synology DSM 8, you can manage permissions through the Control Panel. First, create user accounts for each person who needs access, ensuring they have strong, unique passwords. Then, assign these users to specific groups or directly set permissions for individual shared folders hosting your Git repositories. To do this, navigate to the Shared Folder permissions, select the folder, and customize read/write access accordingly. For added security, consider using SSH keys for authentication. Regularly review permissions to ensure only authorized users have access, and revoke permissions when users no longer need them. Proper permission management keeps your repositories safe and access controlled. Additionally, understanding the permission categories helps in assigning appropriate access levels.
Creating User Accounts and Permissions for Git Access
Have you considered how user accounts and permissions shape secure and efficient access to your Git repositories on Synology DSM 8? Properly creating user accounts guarantees only authorized individuals can access your code. To set this up effectively:
- Create dedicated user accounts for each collaborator.
- Assign permissions specifically for the Git shared folder.
- Limit access rights based on roles (read-only or read-write).
- Regularly review and update permissions to maintain security.
- Implement access control strategies to manage permissions more effectively.
Setting Up SSH for Secure Repository Management
To keep your Git repositories secure, setting up SSH is essential. You’ll generate SSH keys, configure access, and manage user permissions to control who can connect. This setup guarantees your code stays protected while allowing smooth collaboration. Using expert voice actors can help convey complex instructions clearly and engagingly, ensuring users understand the importance of secure access.
Generating SSH Keys
Generating SSH keys is a crucial step to guarantee secure communication between your local machine and the Synology server. These keys authenticate your identity without exposing passwords. To generate your SSH keys, follow these steps:
- Open your terminal or command prompt.
- Enter `ssh-keygen -t ed25519 -C “your_email@example.com”`.
- Choose a safe file location or accept the default.
- Set a strong passphrase for added security.
Once generated, your public key will be stored in the specified file, and your private key remains on your device. Keep your private key secure, and you’ll be ready to configure SSH access. This process ensures encrypted, safe data transfer between your machine and the server. Additionally, understanding secure key management is essential for maintaining the integrity of your SSH setup.
Configuring SSH Access
Wondering how to securely access your Git server on your Synology DSM 8? To do this, you’ll need to enable SSH. First, log into DSM, go to Control Panel > Terminal & SNMP, and check “Enable SSH service.” Take note of the port number, default is 22. Next, ensure your SSH keys are properly set up—use the keys you generated earlier. Use an SSH client like PuTTY or Terminal to connect. For added security, consider changing the default port in DSM settings to reduce automated attacks. Disable password authentication once you’ve confirmed SSH key access works, preventing password-based logins. This setup guarantees your repository remains secure while allowing seamless, encrypted access for your development workflows. Additionally, enabling Kia Tuning features can optimize your server’s performance and security settings.
Managing User Permissions
Managing user permissions is essential to guarantee that only authorized individuals can access and modify your Git repositories over SSH. Proper permission management ensures your code stays secure and prevents accidental or malicious changes. To set this up effectively:
- Create dedicated user accounts for each team member requiring access.
- Assign specific SSH keys to each user, avoiding shared keys.
- Configure SSH access permissions in Synology DSM, restricting users to their designated repositories.
- Test permissions by attempting repository access with different accounts to verify restrictions.
Following these steps keeps your repositories protected while allowing seamless collaboration. Regularly review user access and update SSH keys when team members change roles or leave. Proper management minimizes security risks and maintains repository integrity.
Initializing Repositories and Cloning From Your Local Machine

Once you’ve set up your remote repository on the Synology DSM 8 server, the next step is to initialize a local repository and connect it to the remote. On your local machine, navigate to your project folder in the terminal and run `git init` to create a new repository. Then, add the remote server by executing `git remote add origin
Managing and Maintaining Your Git Server on Synology DSM 8
To keep your Git server running smoothly on Synology DSM 8, you need to actively monitor its health and perform regular maintenance tasks. Regularly check disk space, ensure your backups are up-to-date, and monitor system logs for errors. Keep your DSM and installed packages updated to patch security vulnerabilities. Additionally, review user access permissions to prevent unauthorized changes.
Regularly monitor system health, update packages, verify backups, and review user permissions to ensure your Synology DSM 8 Git server’s stability and security.
Here are four key tasks:
- Monitor system and server logs for issues.
- Verify backups and restore points.
- Keep DSM and Git-related packages current.
- Review user permissions periodically.
Performing these steps helps maintain stability, security, and ideal performance for your Git server. Staying proactive minimizes downtime and keeps your development environment reliable.
Frequently Asked Questions
How Can I Back up My Git Repositories on Synology DSM 8?
You want to back up your git repositories on Synology DSM 8. First, locate your repositories in File Station or via SSH. Then, set up regular backups using Hyper Backup or rsync to an external drive or cloud storage. Automate the process with scheduled tasks to guarantee your repositories stay safe. This way, you can easily recover your work if anything goes wrong.
What Are Best Practices for Securing My Git Server?
Ever wondered how to keep your code safe? To secure your Git server, you should enable SSH access with strong, unique passwords or key-based authentication. Limit user permissions to only what’s necessary, and regularly update your DSM and Git software to patch vulnerabilities. Use firewalls to restrict access and monitor logs for suspicious activity. Isn’t it better to prevent issues than fix them later? Protect your projects diligently!
Can I Integrate Synology Git Server With Ci/Cd Tools?
You can definitely integrate your Synology Git server with CI/CD tools. First, verify your Git server is accessible from your CI/CD platform, typically via SSH or HTTPS. Then, configure your CI/CD pipeline to connect to your server, specify repositories, and set up automated workflows for testing, building, and deploying code. Using webhooks or API integrations enhances automation. Just ensure your network and security settings permit smooth, secure communication.
How Do I Troubleshoot Common Git Connection Issues?
Imagine your connection as a delicate bridge that sometimes gets blocked. To troubleshoot, first check your network stability and make certain SSH or HTTPS ports are open. Verify your credentials and SSH keys are correct. Use command-line tools like ping or telnet to test connectivity. If issues persist, review server logs for clues. Keep your software updated, and restart your server if needed—sometimes, a simple reboot clears the fog.
Is It Possible to Set up Access Controls Based on IP Addresses?
You can set up access controls based on IP addresses to secure your git server. Many Git hosting solutions and server configurations allow you to specify rules that restrict or permit access from certain IPs. By adjusting your server’s firewall settings or SSH configuration, you can block unwanted IPs or allow only trusted ones. This way, you guarantee only authorized users from specific locations can connect, enhancing your server’s security.
Conclusion
Now that you’ve set up your Git server on Synology DSM 8, you’ve taken control like a modern-day digital craftsman. Just as knights once guarded their castles, you now safeguard your code with secure access and proper permissions. Keep your repositories organized and stay vigilant with updates. With your new setup, you’re ready to conquer collaborative projects and build something legendary—like a true hero of the open-source domain.


