
Expanding your Chromebook storage with network-attached NVMe lets you increase capacity without opening your device. You connect a high-speed NVMe SSD to a NAS or server on your network, then access it via protocols like SMB or NFS. This setup offers fast transfer speeds and flexible storage management. If you’d like guidance on choosing hardware, setting up your network storage, and securing access, you’ll find useful tips as you explore further.
Key Takeaways
- Use network-attached NVMe SSDs via NAS or server to increase Chromebook storage capacity over the network.
- Select high-speed drives (≥1TB, ≥3,000 MB/s) and compatible network hardware for optimal performance.
- Connect and mount the network NVMe drive on Chromebook through SMB or NFS protocols in Files app.
- Configure network sharing, permissions, and security settings to ensure reliable and safe access.
- Optimize performance with hardware acceleration, regular updates, and network stability checks.
Understanding Network-Attached NVMe and Its Benefits
Network-attached NVMe technology allows your Chromebook to access high-speed storage over a network, substantially expanding its storage capacity without adding physical drives. This setup uses a fast NVMe SSD connected to your network, often via a dedicated server or NAS device, enabling your Chromebook to read and write data quickly. The main benefit is increased storage flexibility—you can scale up storage without opening your device or risking internal hardware changes. It also offers centralized data management, making backups and sharing files easier across multiple devices. Plus, since NVMe drives provide rapid data transfer speeds, you won’t experience lag or slowdowns when accessing large files or applications over the network. This solution is ideal for users needing extra space without sacrificing performance or portability. Wall organization systems can also complement this setup by creating a well-organized environment for your digital and physical storage needs.
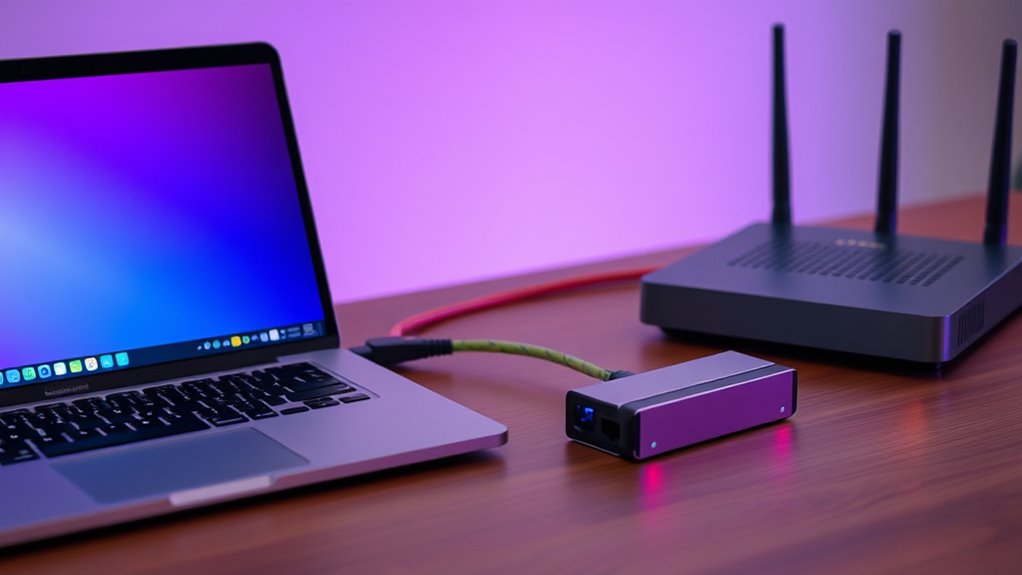
Selecting the Right NVMe Drive and Network Hardware

Choosing the right NVMe drive and network hardware is essential for maximizing your Chromebook’s expanded storage capabilities. You need a drive with sufficient speed and capacity to handle your data needs. For network hardware, prioritize a reliable router with high bandwidth and low latency to ensure smooth data transfer. Compatibility is key; verify your Chromebook supports booting from or accessing the drive. Consider these factors:
| Feature | Importance | Recommended Choice |
|---|---|---|
| NVMe Capacity | Meets your storage needs | 1TB or higher |
| Speed | Faster data transfer | 3,000 MB/s or more |
| Network Bandwidth | Ensures quick access | 1 Gbps or higher |
Matching high-quality hardware guarantees seamless performance and future-proofing. Additionally, choosing an NVMe drive with thermal management features can help maintain optimal performance during intensive data transfers.
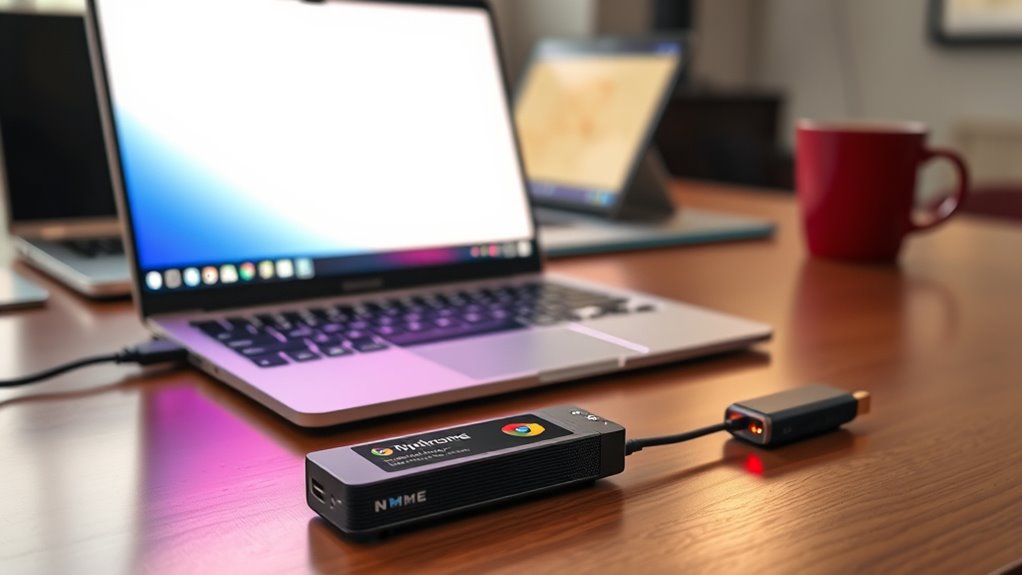
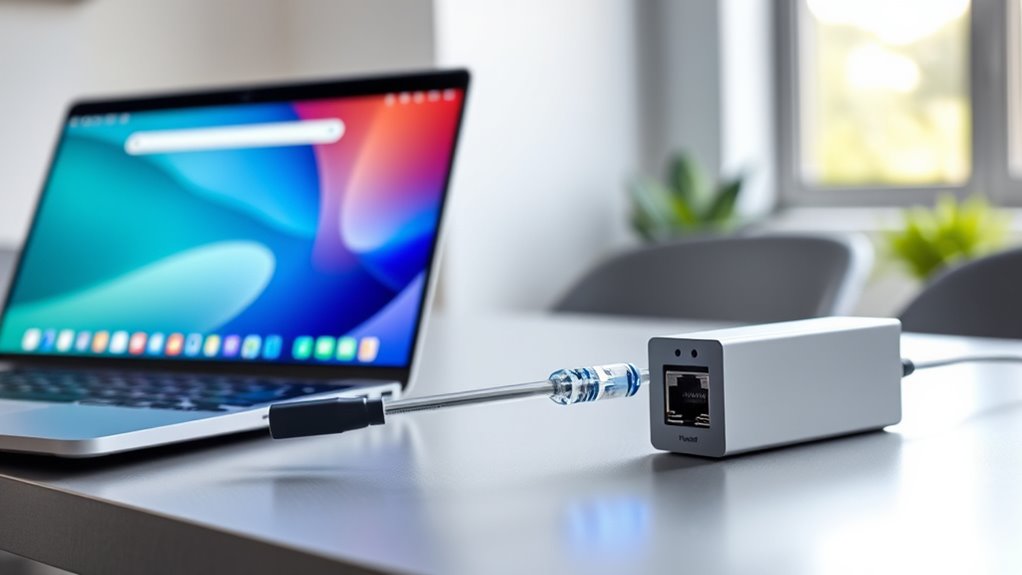
Setting Up Your NVMe Drive for Network Access

Wondering how to connect your NVMe drive to your Chromebook for network access? First, confirm your NVMe drive is installed in a compatible enclosures or a network-attached storage (NAS) device. Connect the enclosure to your network router via Ethernet or Wi-Fi, depending on your device. Power on the enclosure and verify it’s functioning correctly. Next, access your router’s management interface and locate the connected storage device. Assign a static IP address if necessary for easier access. Configure network sharing options, such as SMB or NFS, to enable your Chromebook to see the drive on the network. With this setup, your NVMe drive becomes accessible over your network, ready for file transfer and storage expansion. Understanding network protocols can help optimize your setup for better performance.
Configuring Your Network Storage Server or NAS
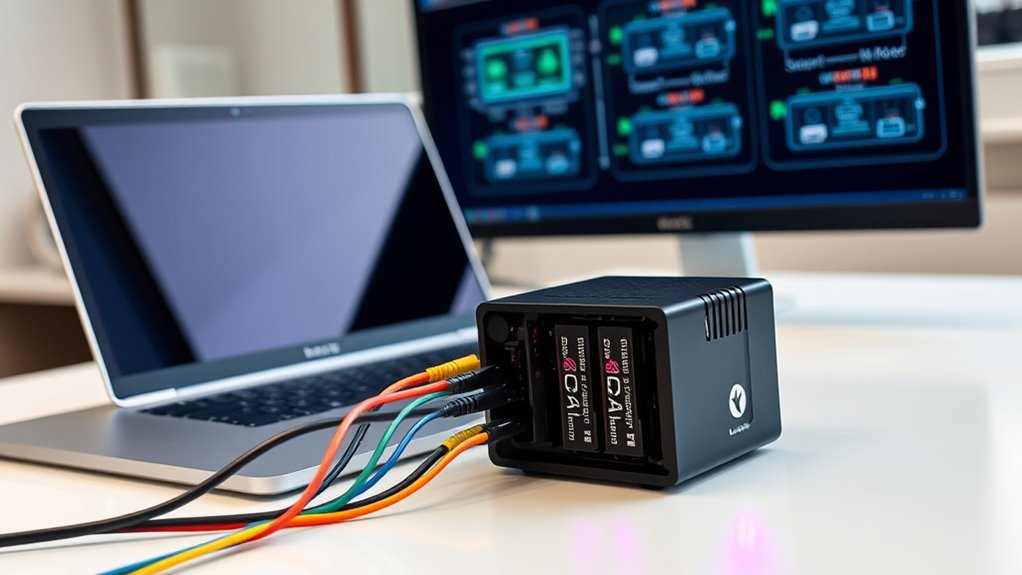
To start, you’ll need to set up your storage server or NAS so your Chromebook can access it easily. Once it’s ready, connecting your Chromebook to the NAS is straightforward with the right network settings. This setup lets you expand your storage seamlessly and access files anytime. Incorporating security measures during setup can help protect your data from unauthorized access and potential cyber threats.
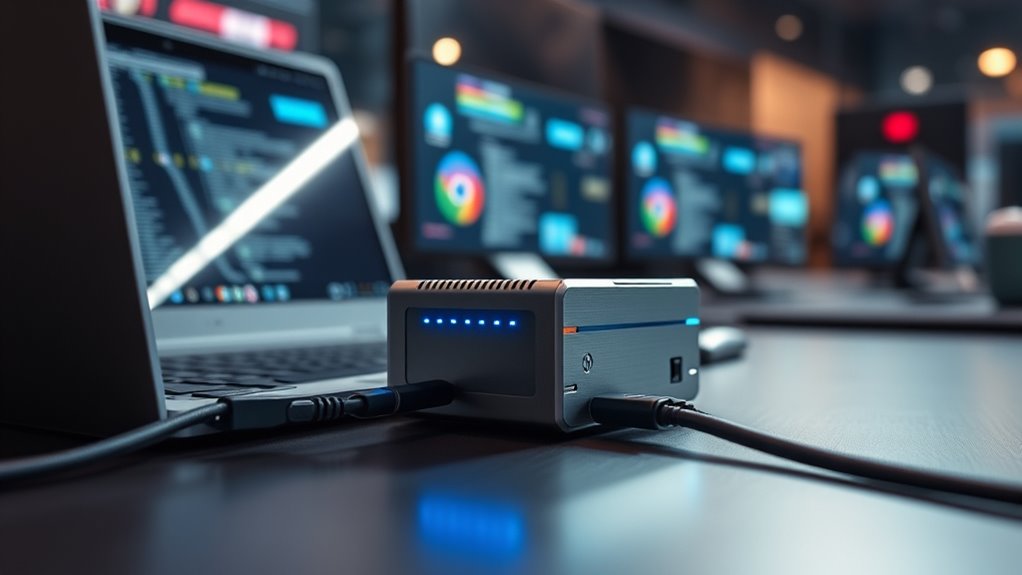
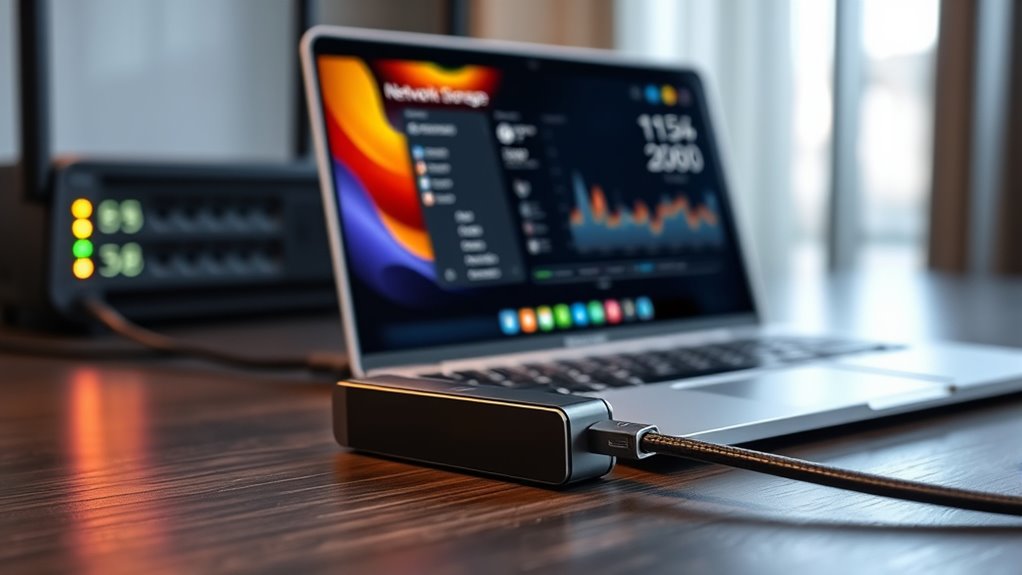
Setting Up Storage Server
Setting up a storage server or NAS (Network Attached Storage) allows you to expand your Chromebook’s storage capacity efficiently. First, choose a suitable device, like a Raspberry Pi or dedicated NAS box. Next, install the necessary software, such as FreeNAS or OpenMediaVault, to manage your storage. Connect your device to your network via Ethernet for stability and speed. Configure shared folders and permissions so your Chromebook can access files seamlessly. Make certain your network settings are optimized for quick data transfer. You’ll also want to set up user accounts and security protocols to protect your data. Storage longevity is an important aspect to consider for maintaining data safety over time. Picture a sleek box on your desk with blinking LEDs, connected via Ethernet cables that link to your router, ready to serve your storage needs. This foundation is crucial for a smooth setup process.
Connecting Chromebook to NAS
Once your storage server or NAS is set up and connected to your network, the next step is to connect your Chromebook. First, open the Files app on your Chromebook. Click the three-dot menu in the top right corner and select “Add new service” > “Network Drive” or “Browse for network files.” If your NAS uses SMB or NFS protocols, choose the appropriate option. Enter the NAS’s network address, such as “smb://your-nas-address” or “nfs://your-nas-address.” You may need to enter your NAS username and password. Once connected, the NAS will appear as a mounted drive in your Files app. This setup allows you to access and manage your network storage seamlessly, expanding your Chromebook’s available space. Celebrity lifestyle insights reveal the importance of reliable technology in maintaining a modern, connected lifestyle.
Connecting Your Chromebook to the Network Storage
Connecting your Chromebook to network storage allows you to easily access and expand your device’s storage capacity. First, verify your network storage device is powered on and connected to the same Wi-Fi network as your Chromebook. Then, open the Files app, click on the menu, and select “Add new service” > “Network Storage.” You’ll need to input the IP address, username, and password for your storage device. Once connected, you’ll see your network storage listed alongside local files, ready for use. Picture yourself browsing through folders, transferring files with a few clicks, and seamlessly accessing large files without filling up your Chromebook’s internal storage. This setup transforms your device into a powerful, flexible tool for managing storage needs across your network. Additionally, understanding network-attached storage (NAS) can help you optimize your setup for better performance and scalability.
Mounting and Accessing the Network-Attached NVMe on Chrome OS
To expand your Chromebook storage, you’ll need to connect your network-attached NVMe drive and set up network sharing. Once configured, you can easily mount the drive on Chrome OS and access your files seamlessly. We’ll guide you through each step to make certain of smooth setup and reliable access. Additionally, understanding network sharing can improve your ability to manage external storage solutions effectively.
Connecting the NVMe Drive
Ever wondered how to access a network-attached NVMe drive on your Chromebook? First, verify your drive is connected to your network and powered on. Then, open the Files app and click on the three-dot menu to select “Add new service” or “Connect to server.” You’ll need to input the network address and credentials for the NVMe. Once connected, you’ll see the drive listed alongside your local storage. Imagine a sleek, high-speed drive appearing in your file explorer, ready to store your files. Visualize:
- Your Chromebook communicating seamlessly with the NVMe over your Wi-Fi or ethernet
- The drive’s icon appearing in your Files app
- Files transferring swiftly between your Chromebook and the network drive
- The drive accessible just like any internal storage, ready for use
Configuring Network Sharing
Once your network-attached NVMe drive is set up, you can configure network sharing on your Chromebook to mount and access it seamlessly. First, verify the device is connected to the same network as your Chromebook. Access the drive’s sharing settings, typically through its management interface, and enable file sharing using protocols like SMB or NFS. Make sure you assign proper permissions so your Chromebook can read and write to the drive. On Chrome OS, open the Files app, click the three-dot menu, and select “Add new services” or “Add network location.” Enter the network address of your NVMe server, along with any required credentials. Once connected, you’ll see the network share in your Files app, ready for use. Understanding local network security is essential to protect your data during this process.
Mounting on Chrome OS
Are you ready to access your network-attached NVMe drive directly from your Chromebook? Mounting it on Chrome OS is straightforward once you know the steps. First, verify your drive is shared correctly on your network. Then, open the Files app and select the ‘Add new service’ option. From there, choose ‘Connect to server’ and input your drive’s network path. You’ll see the drive appear in your file list, ready for access. Picture yourself browsing a sleek, organized folder structure. Imagine the drive seamlessly integrating into your Chromebook’s environment, appearing as an icon in your sidebar. You’ll quickly navigate through folders, dragging and dropping files effortlessly, expanding your storage without hassle. Proper network configuration is essential to ensure smooth mounting and access. Mounting your NVMe becomes a smooth process, revealing new storage potential with ease.
Optimizing Storage Performance and Security
To guarantee your Chromebook runs smoothly and securely, optimizing storage performance and security settings is essential. Start by regularly checking for system updates; these often include performance improvements and security patches that keep your device protected. Enable hardware acceleration features to improve data transfer speeds, especially when using network-attached NVMe storage. Manage your files efficiently by organizing data and deleting unnecessary files to prevent clutter, which can slow down performance. Additionally, use strong, unique passwords and enable two-factor authentication to safeguard your storage solutions. Enable encryption for sensitive data to prevent unauthorized access. Regularly review app permissions and security settings to maintain control over your device’s security posture. These steps ensure ideal performance and protect your Chromebook from potential threats.
Troubleshooting Common Issues and Maintenance Tips
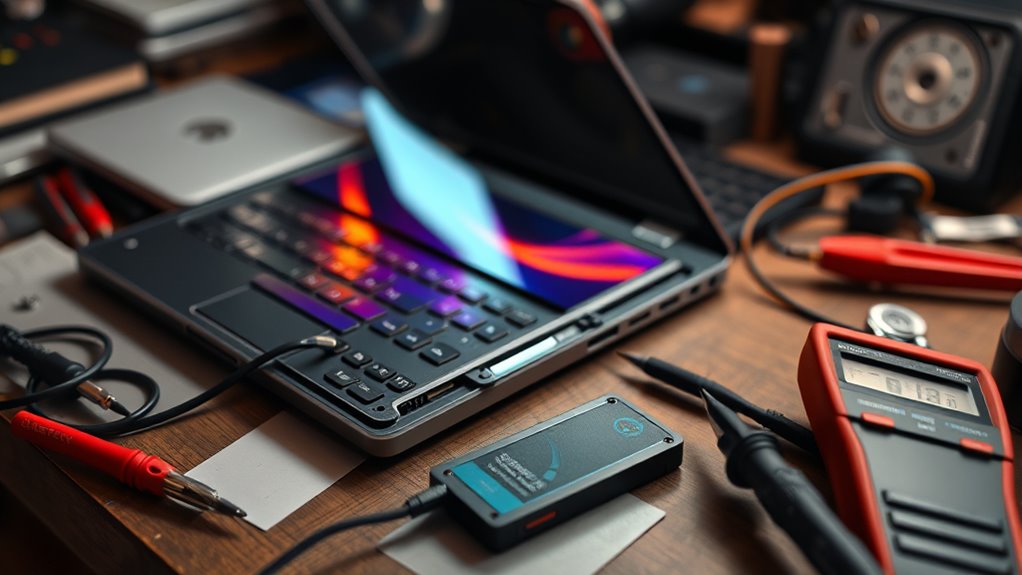
When your Chromebook starts acting up or slowing down, quick troubleshooting can save you time and frustration. First, check for software updates—outdated systems can cause performance issues. Next, clear your browser cache and close unused tabs to free up memory. If problems persist, restart your device to refresh the system. You might also want to inspect your network connection, as poor Wi-Fi can hinder performance.
Quickly troubleshoot your Chromebook by updating software, clearing cache, closing tabs, and restarting to boost performance.
Visualize these steps:
- Running a diagnostic tool to identify hardware issues
- Disconnecting external devices causing conflicts
- Clearing out unnecessary files from your storage
- Resetting network settings for smoother connectivity
These simple actions help you quickly identify and fix common problems, keeping your Chromebook running smoothly.
Frequently Asked Questions
Can I Expand Storage on Multiple Chromebooks Simultaneously?
You wonder if you can expand storage on multiple Chromebooks at once. While it’s possible to upgrade or add storage for individual devices, doing it simultaneously requires a centralized setup, like network-attached storage (NAS) or shared network drives. This way, all your Chromebooks can access the expanded storage seamlessly. Keep in mind, you’ll need proper network configuration and compatible hardware to make this efficient and reliable across multiple devices.
What Are the Cost Differences Between Different NVME Drives?
Thinking about different NVMe drives? You’ll find that prices vary based on capacity, brand, and speed. Entry-level options are budget-friendly but may lack some advanced features, while premium models offer faster performance and larger storage, costing more. By balancing your needs and budget, you can choose a drive that gives you great value without overspending. Keep an eye out for sales or discounts to make your investment even sweeter.
How Does Network Speed Affect NVME Storage Performance?
Network speed directly impacts your NVMe storage performance when it’s network-attached. If your network is fast and stable, data transfers occur quickly, making your storage feel nearly as responsive as local drives. However, slower or unstable networks cause delays, reducing performance and increasing lag. To get the best out of network-attached NVMe, make certain you have a high-speed, dependable connection, like gigabit Ethernet or Wi-Fi 6, for ideal results.
Is Additional Software Required for Network-Attached NVME on Chrome OS?
You might think you need a mountain of software to set up network-attached NVMe on Chrome OS, but that’s not true! In reality, Chrome OS supports this feature seamlessly with just a few simple steps. You don’t need complex installations or extra tools—just connect your NVMe drive to your network, and Chrome OS handles everything behind the scenes. It’s so easy, it’s almost like magic!
What Are the Privacy Concerns With Network-Attached Storage?
When using network-attached storage, you should be aware of privacy concerns like unauthorized access, data breaches, and potential eavesdropping. Since your data travels over the network, hackers might intercept sensitive information if security isn’t robust. It’s essential to use strong encryption, secure passwords, and regular updates to protect your privacy. Always review the storage provider’s privacy policies to understand how your data is managed and protected.
Conclusion
Expanding your Chromebook storage with network-attached NVMe can boost your device’s performance and capacity effortlessly. Did you know that NVMe drives can offer up to 6 times faster data transfer rates than traditional SSDs? By setting up a reliable network storage, you’ll enjoy seamless access and enhanced security. With the right hardware and configuration, you can transform your Chromebook into a powerhouse, ensuring your files are always within reach and protected.