
To make a bootable USB installer, you need to first back up any important data, then format the USB drive using tools like Rufus or balenaEtcher with a compatible file system such as FAT32. Next, use the software to copy the OS files onto the drive, ensuring it’s properly configured for booting. Once complete, test the USB on your computer to confirm it works. Keep going to discover the detailed steps for a successful setup.
Key Takeaways
- Backup all important data from the USB, as formatting will erase its contents.
- Use a reliable utility like Rufus, balenaEtcher, or OS-specific tools to format and prepare the drive.
- Select the correct file system (FAT32 or NTFS) during formatting for compatibility with bootable images.
- Copy the OS installation files onto the formatted USB using the chosen software to create a bootable installer.
- Test the USB by booting from it on the target computer to verify it starts correctly.
Creating a bootable USB installer is a vital step when installing or repairing operating systems, and it’s easier than you might think. The first step involves USB formatting, which prepares your drive to become a reliable boot device. When you format your USB, you fundamentally erase all existing data, so it’s important to back up any files you want to keep beforehand. This process guarantees the drive is clean and compatible with the bootable image you plan to create. Using the right file system—typically FAT32 or NTFS—helps ensure that the USB will be recognized by your computer during startup. Remember, proper USB formatting isn’t just about clearing space; it’s about setting the foundation for a successful boot process.
While you’re preparing your USB, you also need to think about data preservation. Any important files stored on the drive will be wiped during formatting, so double-check that you’ve saved everything you need elsewhere. Once you’ve backed up your data, you can proceed with the formatting process confidently, knowing your files are safe. Many tools and operating system utilities provide straightforward options for formatting, making it easy to get your USB ready. After formatting, your drive is primed for the next step—adding the OS installation files or bootable image.
Back up your files before formatting to ensure data safety during the process.
Creating a bootable USB installer involves copying the operating system files onto the formatted drive using specialized software like Rufus, balenaEtcher, or the official media creation tools provided by OS developers. These tools automate the process, ensuring the files are correctly written and the drive is properly configured to boot. As you work through this, you’ll notice that the process is quick and simple, especially if you follow the prompts carefully. Keep in mind that during this process, data preservation is key—never skip backups, as formatting erases everything on the drive. Additionally, understanding the importance of bootable media can help you troubleshoot any issues that arise during the process.
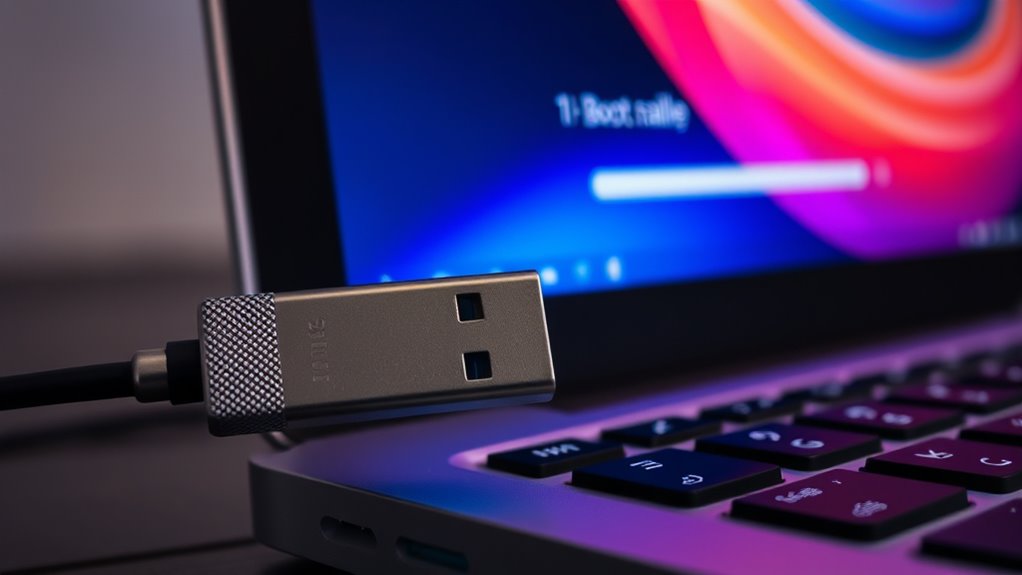
Once the bootable USB is created, test it on your computer by booting from it. If everything works correctly, your system should recognize the USB as a boot device, allowing you to install or repair your OS. Remember, creating a bootable installer is not just about making the drive bootable—it’s about doing so while safeguarding your data and ensuring the process runs smoothly. With a properly formatted USB and your important files backed up, you’re ready to move forward confidently with your OS installation or repair.
Frequently Asked Questions
Can I Use a USB Drive Larger Than 32GB for Installation?
Yes, you can use a USB drive larger than 32GB for installation. Your USB capacity and storage compatibility are key factors. As long as your USB drive is compatible with your system and the file system supports the necessary files, a larger capacity will work fine. Just make sure you format it correctly and make it bootable. Larger drives can provide more space for files and backups during installation.
Does Creating a Bootable USB Erase All Data on the Drive?
Creating a bootable USB does erase all data on the drive due to drive formatting, so you should back up your files first. It might seem risky, but this step guarantees the process works smoothly. Data loss is unavoidable during formatting, but once you’ve saved your important data elsewhere, you can confidently proceed, knowing your drive will be prepared properly for the installer.
What Are Common Errors During USB Creation and How to Fix Them?
You might encounter errors during USB creation like failed formatting or boot mode issues. To fix these, make sure you’ve properly formatted the USB drive, preferably in FAT32 or NTFS. Check that you’ve selected the correct boot mode (UEFI or Legacy) in BIOS settings. Sometimes, using a different USB port or updating your creation tool helps. Double-check your ISO file and reattempt the process to avoid common errors.
Is It Possible to Create a Bootable Windows Installer on a Mac?
Yes, you can create a bootable Windows installer on a Mac, but keep in mind Windows compatibility issues. You’ll need to format the USB drive using Disk Utility to guarantee it’s compatible, typically selecting MS-DOS (FAT) or exFAT. Then, use third-party tools like Boot Camp Assistant or balenaEtcher to create the bootable installer. This process allows you to install Windows on a compatible PC directly from your Mac.
How Do I Verify the Integrity of the Bootable USB After Creation?
Did you know that over 60% of data corruption issues are caused by faulty disk processes? To verify your bootable USB’s integrity, perform checksum verification using tools like MD5 or SHA-256. This confirms the disk integrity by comparing the generated checksum to the original. If they match, your USB is reliable and ready for installation. Always verify before use to avoid installation failures or data loss.
Conclusion
Now that you’ve created your bootable USB installer, you hold the key to unleashing new possibilities—like opening a door to fresh installations or repairs. Think of it as a magic wand in your toolkit, ready to transform your tech experience at a moment’s notice. With your USB prepared, you’re equipped to conquer any challenge that comes your way. Remember, the power is in your hands—embrace it and let your tech journey unfold with confidence.