

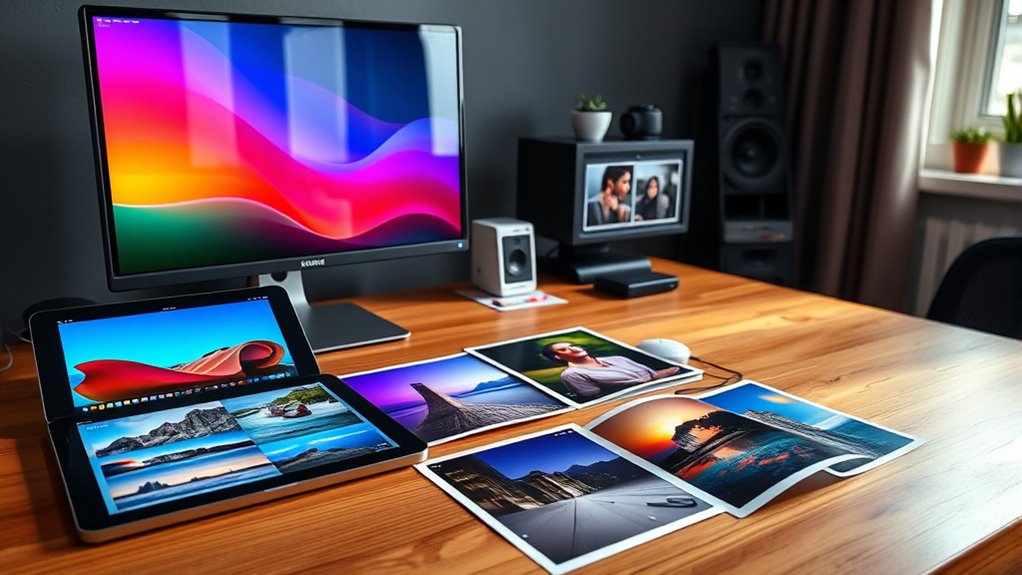
To streamline your photos for printing and sharing, start by calibrating your devices and using consistent color profiles like Adobe RGB or sRGB. Embed profiles to preserve accurate colors across devices. Choose the right aspect ratios for your platform or print size to prevent cropping. Use soft proofing to preview prints and adjust colors accordingly. Maintaining a professional workflow guarantees predictable results; continue for tips that simplify this process even further.
Key Takeaways
- Use consistent color profiles (e.g., Adobe RGB, sRGB) during capture, editing, and output to ensure color accuracy across devices.
- Match image aspect ratios to target platforms or print sizes to prevent cropping, distortion, and composition issues.
- Calibrate and soft proof monitors and printers regularly to maintain accurate color reproduction and preview final outputs.
- Set image resolution to 300 DPI and calculate pixel dimensions based on desired print size for sharp, professional-quality prints.
- Embed color profiles in images and use workflow practices that streamline editing, sharing, and printing with predictable results.

Calibrite Display Pro HL Monitor Calibration Colorimeter for LCD Mini LED and OLED Displays, Measure up to 3000 Nits, PROFILER Software, USB C with Adapter, Validation/Color Uniformity Tools
SPECIFICATIONS: HL high luminance sensor colorimeter measures up to 3000 nits, calibrates and profiles LCD mini LED OLED…
As an affiliate, we earn on qualifying purchases.
As an affiliate, we earn on qualifying purchases.
Understanding Color Management for Consistent Results
To achieve consistent color results across your devices, understanding the fundamentals of color management is essential. You need to grasp that each device—camera, monitor, printer—has its own color gamut, which is the range of reproducible colors. Color profiles describe how these devices interpret and display colors, ensuring accurate translation between them. When you embed profiles in your images, you’re telling software how to handle colors correctly during editing and printing. Using a unified color space, like Adobe RGB or sRGB, helps reduce shifts in hue and saturation. This process ensures that what you see on your screen closely matches the final print or output. Proper color management minimizes surprises and guarantees your images look consistent across all platforms and devices. Additionally, understanding personal growth principles can enhance your attention to detail and patience during the calibration process, which is crucial for maintaining color accuracy over time. Developing a routine for regular calibration can further ensure sustained color consistency in your printing workflow, especially as technology evolves and introduces new standards.
datacolor Spyder – Monitor Calibrator for Graphic Designers, Photographers, and Content Creators, Shows You True Colors, Works on OLED Monitors & LED Screens, Easy-to-Use Color Calibration Tool
Color “Surprises” Are a Thing of the Past: Datacolor’s exclusive DevicePreview TM Beta feature simulates what your photos…
As an affiliate, we earn on qualifying purchases.
As an affiliate, we earn on qualifying purchases.
Calibrating and Profiling Devices for Accurate Reproduction
To get accurate color reproduction, you need to calibrate your devices properly. Using the right calibration techniques guarantees your monitors, printers, and scanners stay consistent over time. Creating accurate profiles then helps translate colors correctly between devices, making your workflow more reliable. Additionally, understanding the importance of color management ensures that your fine rugs are represented accurately across all mediums. Incorporating color accuracy techniques into your process can significantly improve the fidelity of your images. As AI continues to evolve, integrating AI-driven tools can further enhance the precision of calibration processes and ensure consistency. Regular maintenance and re-calibration are essential to maintain color fidelity over time.
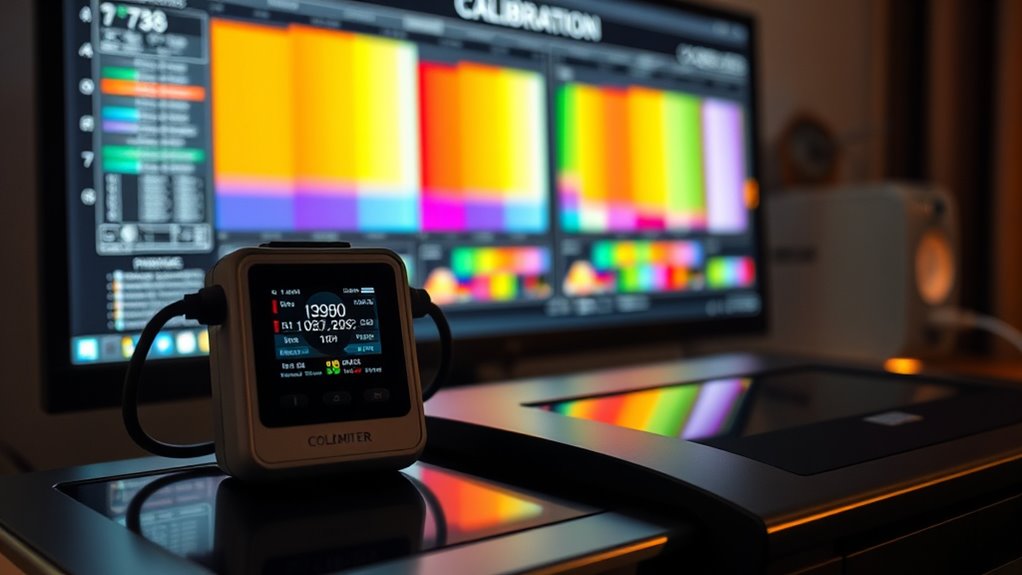
Device Calibration Techniques
Proper device calibration is essential for achieving consistent and accurate color reproduction across your digital imaging workflow. To do this, start by using calibration tools like colorimeters or spectrophotometers to measure your monitor’s output. Follow the device manufacturer’s instructions to adjust brightness, contrast, and color settings, ensuring the display reflects true colors. Next, create a monitor profile that characterizes its color behavior, which software can use to adjust how images appear on screen. For printers, utilize calibration sheets and printer-specific calibration hardware to measure color output and develop custom profiles. Regular calibration ensures your devices stay accurate over time, minimizing color shifts. This process guarantees that what you see on your screen matches your print or digital output, streamlining your workflow and improving final results. Incorporating lifestyle principles like routine maintenance and workspace organization can also help maintain calibration accuracy over the long term, as consistent practices support device consistency. Additionally, understanding industry transformations such as advances in calibration technology can help you stay ahead of evolving standards.
Profile Creation Best Practices
Creating accurate color profiles starts with careful calibration of your devices. Calibration adjusts your monitor, scanner, or printer to a known standard, ensuring consistent color output. Profiling then characterizes each device’s specific color behavior, creating a profile that translates colors accurately. Use standardized tools like colorimeters or spectrophotometers for precise results. Always calibrate before profiling, and update profiles regularly to account for device aging or paper changes. To help visualize the process, here’s a quick overview:
| Step | Action | Purpose |
|---|---|---|
| Calibration | Adjust device settings | Achieve baseline accuracy |
| Profiling | Measure device outputs | Create a custom color profile |
| Implementation | Embed profiles into workflows | Ensure consistent color reproduction |

Canon PIXMA PRO-200S Professional 13" Wireless Inkjet Photo Printer with 3.0" Color LCD Monitor, 8-Color Dye-Based Ink, Black
8 COLOR dye-based ink system produces vibrant, high quality prints.
As an affiliate, we earn on qualifying purchases.
As an affiliate, we earn on qualifying purchases.
Choosing the Right Color Spaces for Capture, Editing, and Output
Choosing the right color spaces is key to maintaining a consistent color workflow from capture to output. You need to select color profiles that match your editing and printing devices to prevent unexpected shifts in color. By understanding which spaces work best at each stage, you can ensure your photos look great everywhere you share or print them. Incorporating color space management into your process can help streamline your workflow and produce more accurate results. Additionally, understanding device profiles is crucial for matching your monitor and printer capabilities with your editing space.
Consistent Color Workflow
To guarantee your photos look consistent across capture, editing, and output, selecting the appropriate color spaces is essential. Here’s how to maintain a seamless workflow:
- Use a wide-gamut space like Adobe RGB during capture and editing to preserve maximum color information.
- Embed color profiles in your images so software and devices interpret colors correctly.
- Convert to device-specific color spaces, such as sRGB for web sharing or CMYK for printing, before output.
- Regularly proof your images with calibrated monitors and printers to ensure colors match your expectations.
- Understanding color management principles helps maintain color fidelity throughout your photographic process.
This approach minimizes color shifts and ensures your final images look vibrant and accurate, whether on screen or print. Staying consistent with color spaces helps you achieve predictable, professional results every time.
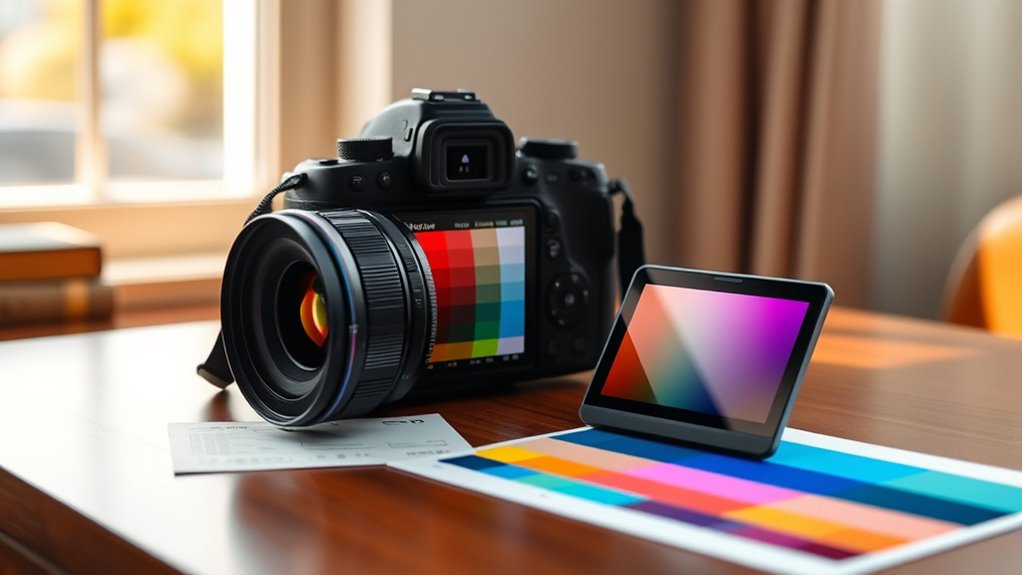
Choosing Optimal Color Spaces
Selecting the right color spaces for your photos is essential to guarantee accurate color reproduction throughout your workflow. Start by capturing images in a wide-gamut space like Adobe RGB or ProPhoto RGB to preserve maximum color detail. When editing, use a color space that balances detail and compatibility, such as Adobe RGB, especially if working with prints. For online sharing, sRGB is ideal because it’s the standard for most displays and web platforms. Always embed color profiles in your files to ensure consistent rendering across devices. Converting between color spaces should be done carefully, maintaining color fidelity. Additionally, understanding the color gamut of each space helps you choose the most suitable one for your specific needs. By choosing appropriate color spaces at each stage—capture, edit, and output—you ensure your images look vibrant and true to life, whether on screen or in print.

Calibrite ColorChecker Classic Color Reference Target for Photo/Video Color Accuracy, 24 Patch Chart for White Balance and Color Grading, 8 x 11.5 inch Profile Creation and Editing Workflow Tool (CCC)
SPECIFICATIONS: 24 patch color reference target designed for photo and video workflows, supports white balance, exposure evaluation, and…
As an affiliate, we earn on qualifying purchases.
As an affiliate, we earn on qualifying purchases.
Embedding and Using Color Profiles Throughout Your Workflow
Embedding and using color profiles throughout your workflow is essential for achieving consistent and accurate colors from capture to print. When you embed profiles, you communicate the intended color space to all software and devices, ensuring faithful color translation. To do this effectively, you should:
- Assign profiles during import to establish a baseline for editing.
- Embed profiles when saving images to maintain color consistency across platforms.
- Use software that respects embedded profiles to avoid unintended color shifts.
- Convert to printer-specific profiles before printing to match your output device and paper.
- Being aware of regional differences in resources and local expertise can help you optimize your workflow and troubleshoot color issues more effectively.
- Understanding how auras reflect emotional and spiritual states can provide insight into your personal energy, which can inform your creative process and color choices.
- Regular calibration of monitors and printers helps ensure color accuracy throughout your entire process.
- Familiarity with color management principles enhances your ability to achieve predictable and professional results.
- Utilizing color profiles consistently across devices minimizes discrepancies and ensures your final images look as intended.
Following these steps ensures your colors stay true from start to finish, reducing surprises and enhancing the professional quality of your images. Proper profile management keeps your workflow precise, predictable, and efficient.
Managing Gamut Limitations When Printing Photos

Gamut limitations pose a common challenge when printing photos, as the colors captured and displayed on screens often extend beyond what printers can reproduce accurately. To manage this, identify out-of-gamut colors using soft proofing tools in editing software. Adjust these colors through subtle edits, reducing saturation or shifting hues to fall within the printer’s capabilities. Choose the appropriate rendering intent—perceptual or relative colorimetric—to handle out-of-gamut colors while preserving overall image appearance. Embedding the correct printer and paper profile helps ensure accurate color translation. Understanding the color gamut of your printer and paper combination can help you make informed adjustments for optimal color fidelity. Additionally, being aware of the remote hackathons environment can inspire innovative approaches to solving complex challenges in color management technology. Considering recent advances in AI Entertainment can also provide new insights into digital workflows and automation. Familiarity with headphone compatibility and calibration methods can further enhance your ability to preview and adjust images for print. Always preview your print with soft proofing before finalizing. This process minimizes color shifts, preserves image integrity, and produces prints that closely match your on-screen vision, despite inherent gamut constraints.
Selecting the Correct Aspect Ratio for Digital Sharing and Printing

Choosing the right aspect ratio is essential for ensuring your photos look their best whether you’re printing or sharing online. Selecting an appropriate ratio preserves composition and prevents unwanted cropping or distortion. Consider these steps:
- Identify your target platform or print size to choose a compatible ratio.
- Match your photo’s aspect ratio with standard print sizes like 4×6 (3:2) or 8×10 (4:5).
- Crop or resize images to fit the desired aspect ratio before sharing or printing.
- Be aware of platform-specific cropping; social media sites like Instagram favor square (1:1) or 4:5 ratios.
Matching Print Sizes With Aspect Ratios to Avoid Cropping
To prevent unwanted cropping or distortion, it’s essential to match your digital photo’s aspect ratio with the intended print size. If the aspect ratios don’t align, your image may be cropped, stretched, or have borders added, impacting composition and quality. Before printing, check the aspect ratio of your photo and compare it to the print size you want. For example, a 4×6 print (3:2 ratio) works best with photos shot in 3:2 or similar ratios. If your image’s aspect ratio differs, consider cropping or resizing to match the intended print dimensions. This approach keeps your subject centered and maintains the original composition without distortion. Matching aspect ratios simplifies the printing process and ensures your final print looks professional and visually balanced.
Optimizing Images for Print: Scaling, Resolution, and Proofing
Properly scaling and setting the right resolution are key steps in preparing images for high-quality printing. First, determine your intended print size and calculate the necessary pixel dimensions to guarantee sharpness. Second, set the resolution to 300 DPI, which is standard for print, to maintain detail. Third, check for any pixelation or blurriness by zooming in and inspecting the image at 100%. Fourth, use soft proofing tools to simulate how colors and details will appear on your chosen paper and printer, making adjustments as needed. This process helps you avoid surprises, assures optimal detail, and secures your final print matches your vision. Keeping these steps in mind streamlines your workflow and results in professional-quality prints.
Streamlining Your Workflow With Batch Processing and Consistent Settings
Streamlining your workflow becomes much easier when you utilize batch processing and set consistent parameters across your editing steps. By applying the same adjustments—like color corrections, resizing, and sharpening—to multiple photos simultaneously, you save time and guarantee uniformity. Use your editing software’s batch tools to automate repetitive tasks, reducing manual effort and avoiding discrepancies. Keep your color management consistent by embedding the same color profiles across your files, which helps maintain color accuracy across devices. Set standard aspect ratios for your images to prevent unwanted cropping or distortion later. Establishing these consistent settings early in your workflow simplifies the process, improves efficiency, and ensures your photos are ready for print or sharing with minimal adjustments needed.
Frequently Asked Questions
How Do I Choose the Best Color Profile for My Printer?
You should choose the best color profile for your printer by selecting one specifically designed for your printer model, ink set, and paper type. Check if your printer manufacturer provides custom profiles tailored for your setup. Use those profiles within your editing software to guarantee accurate color reproduction. Regularly update profiles and calibrate your printer to maintain consistency, and always embed the chosen profile in your images for ideal results.
What Are Common Aspect Ratios for Professional Photo Printing?
You might be surprised, but the most common aspect ratios for professional photo printing are 4:3, 3:2, and 1:1. These ratios influence how your images are composed and printed, ensuring minimal cropping. When preparing your photos, matching your aspect ratio to standard print sizes like 4×6 or 8×10 helps avoid unwanted borders or cropping. Pay close attention—aligning aspect ratios is key to achieving perfect, professional results.
How Can I Prevent Color Shifts When Sharing Photos Online?
To prevent color shifts when sharing photos online, you should convert your images to a standard color space like sRGB before exporting. Embed the sRGB profile to communicate the intended colors clearly. Calibrate your monitor regularly to guarantee accurate editing and review your images on different devices to check color consistency. Avoid editing in wide-gamut color spaces, as many web browsers and platforms don’t support them, which can cause color discrepancies.
Which Soft Proofing Settings Improve Print Color Accuracy?
Did you know that using soft proofing can improve print color accuracy by up to 80%? To get the best results, set your soft proofing to match your specific printer profile and paper type. Enable the “Simulate Paper Color” and “Simulate Ink” options to preview how colors will look on final prints. Adjust your image based on these previews to guarantee your printed colors match your expectations closely.
How Do I Handle Out-Of-Gamut Colors During Printing?
When handling out-of-gamut colors during printing, you should use your editing software’s gamut warning tool to identify these colors. Then, choose an appropriate rendering intent like perceptual or relative colorimetric to convert out-of-gamut colors to printable hues. Adjust or tone down these colors manually if needed, ensuring they look natural and consistent. Soft proof your image to preview how colors will appear on your printer before finalizing the print.
Conclusion
By mastering color management, calibrating your devices, choosing the right color spaces, and embedding profiles, you guarantee consistent, vibrant results. By managing gamut limitations, selecting proper aspect ratios, and matching print sizes, you avoid cropping and distortion. By optimizing images for print and streamlining your workflow with batch processing, you simplify your process, save time, and produce stunning photos. Embrace these techniques to print and share with confidence, clarity, and creativity.