
To calibrate True‑Tone white balance on your iPhone, start by choosing a well-lit, neutral environment with consistent lighting, avoiding colored or flickering lights. Use the camera’s white balance settings or third-party apps to adjust for accuracy, and reference neutral images like white or gray objects to fine-tune your calibration. Regularly check and recalibrate under different lighting conditions to keep results consistent—continue examining these tips for more detailed guidance.
Key Takeaways
- Use well-lit, neutral environments with consistent lighting to ensure accurate True‑Tone calibration.
- Adjust white balance manually via the Camera app or third-party apps for precise control.
- Capture reference images of neutral white or gray objects to compare and fine-tune white balance settings.
- Turn off or dim colored and flickering lights that may interfere with True‑Tone adjustments.
- Periodically recalibrate by reviewing photos and adjusting white balance to maintain color accuracy over time.

Calibrite ColorChecker White Balance Target for Neutral White Balance in Photo and Video, Spectrally Neutral Reference for Mixed Lighting, 8 x 11.5 inch Chart for Custom in Camera Balance (CCWB)
- Size: 8 x 11.5 inch chart
- Neutral Surface: Spectrally neutral uniform surface
- Color Accuracy: Prevents color shifts under mixed lighting
As an affiliate, we earn on qualifying purchases.
As an affiliate, we earn on qualifying purchases.
Understanding True‑Tone Technology and Its Limitations
True‑Tone technology on iPhones adjusts the display’s white balance to match ambient lighting, creating a more natural viewing experience. It uses advanced sensors to analyze your environment’s light and fine-tunes the screen’s colors accordingly. This helps reduce eye strain and makes images look more realistic in different lighting conditions. However, it’s not perfect. The technology can sometimes misjudge lighting, especially in mixed or unusual environments, leading to color inaccuracies. It also doesn’t account for personal preferences; some users might prefer a cooler or warmer display regardless of ambient light. Additionally, Hyundai Tuning showcases how customized adjustments can optimize performance, similar to how manual calibration can refine display settings. Understanding these limitations helps you recognize when True‑Tone is working well and when it might need calibration or manual adjustment. Keep in mind that this feature aims for naturalism, but it’s not a substitute for precise color calibration.
Preparing Your Environment for Accurate Calibration

To get the most accurate calibration, start by choosing a well-lit environment with consistent, natural lighting. Avoid areas with strong color influences from nearby objects or artificial lights. This way, your iPhone can more precisely adjust its white balance to match true tones. Utilizing proper lighting conditions can significantly improve calibration results.
Optimal Lighting Conditions
Achieving accurate white balance calibration relies heavily on your environment’s lighting conditions. To get the best results, confirm you’re in a well-lit space with consistent, natural or neutral lighting. Avoid direct sunlight or harsh artificial lights that can create uneven color casts. Opt for diffused lighting, such as overcast daylight or soft indoor lights, to prevent shadows and color distortions. Turn off any colorful or flickering lights that could interfere with the calibration process. Keep your surroundings free from reflections or bright spots that might skew the camera’s perception of white. By controlling your environment’s lighting, you create a stable baseline, making it easier for your iPhone to accurately calibrate True‑Tone white balance. Additionally, ensuring your environment has appropriate lighting conditions can significantly improve calibration accuracy.
Minimize Color Influences
Since color influences can distort your calibration, it’s essential to eliminate nearby hues that might cast unwanted tints on your scene. Move any objects with strong or vibrant colors away from your shooting area. Avoid backgrounds with bold patterns or bright colors, as they can reflect onto your subject and skew your white balance. Use neutral-colored surfaces, like white or gray walls, to prevent color casts. Turn off or dim lights that emit colored glows or flicker, which can interfere with accurate calibration. Keep your environment as neutral and consistent as possible, minimizing reflections and color influences. Additionally, incorporating natural materials such as wood or linen can help create a more controlled environment for accurate calibration. By controlling these factors, you ensure your iPhone captures an accurate representation of the scene’s true tone, leading to a more precise white balance calibration.
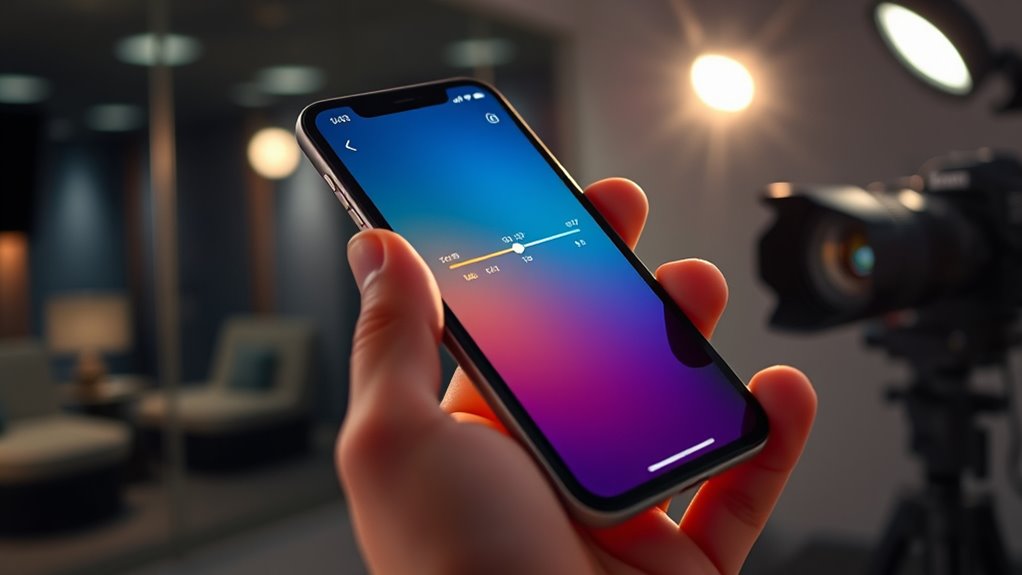
Using Built-in Settings to Adjust White Balance
You can quickly adjust the white balance on your iPhone using the built-in settings. Simply access the relevant options and make the necessary changes. Fine-tuning these settings helps guarantee your photos look natural and true to life. Using self-watering plant pots as an analogy, proper calibration ensures your images maintain consistent and healthy tones.
Accessing White Balance Settings
To access the white balance settings on your iPhone, start by opening the Camera app and tapping the flash icon or the settings icon, depending on your version. Once the camera interface appears, follow these steps:
- Locate the options menu, usually represented by a gear or three dots.
- Tap on it to open additional settings.
- Find the white balance or color options within the menu.
- Select the white balance setting, which may be labeled as “Auto” or “Manual” adjustment.
A new step you might consider is exploring custom white balance options to achieve more precise color correction tailored to your environment. This process varies slightly depending on your iPhone model and iOS version, but generally, these steps lead you to the controls needed to modify your white balance. Familiarizing yourself with this pathway ensures quick access when you want to fine-tune your camera’s color accuracy.
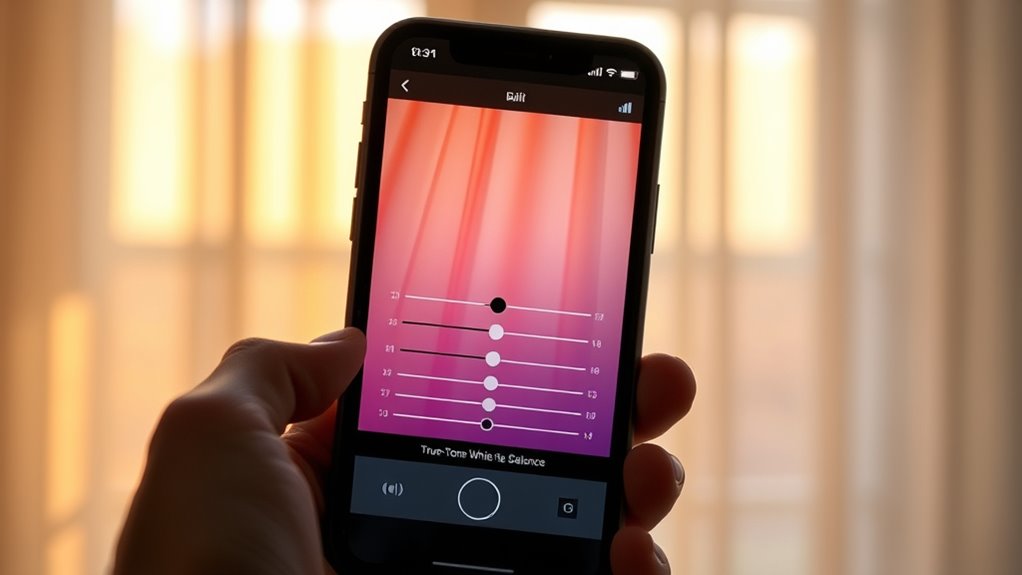
Fine-tuning for Accuracy
Fine-tuning your white balance guarantees your photos display colors accurately, especially in challenging lighting conditions. While iPhones don’t offer direct manual adjustments, you can use built-in settings like the exposure slider and filters to improve color fidelity. Adjusting these settings helps compensate for color casts and lighting inconsistencies. Consider how different environments affect your shot:
| Lighting Environment | Adjustment Strategy |
|---|---|
| Daylight | Keep auto white balance, minimal tweaks |
| Indoor/Artificial | Use filters or adjust exposure to correct color cast |
| Low Light | Increase exposure slightly for clarity |
| Mixed Lighting | Use filters to balance color temperature |
Mastering these subtle adjustments ensures your photos look true to life. Additionally, understanding lighting environments can help you choose the best settings to achieve accurate colors in your photos.
Calibrating White Balance With Reference Images
Using reference images is an effective way to calibrate your iPhone’s white balance accurately. First, choose a well-lit photo of a neutral gray or white object, like a wall or paper, taken under natural daylight. Second, review the image on your phone, noting any color casts—such as too warm or cool tones. Third, compare the photo to a true neutral reference, visualizing how it should appear free of tint. Fourth, adjust your camera’s settings or use editing tools to correct the white balance based on this reference. This process helps you identify deviations and fine-tune your camera’s color accuracy, ensuring your photos reflect true colors. Using reference images streamlines calibration, making your white balance consistent across different lighting conditions. Additionally, understanding the contrast ratio of your display can help you better assess color accuracy during calibration.
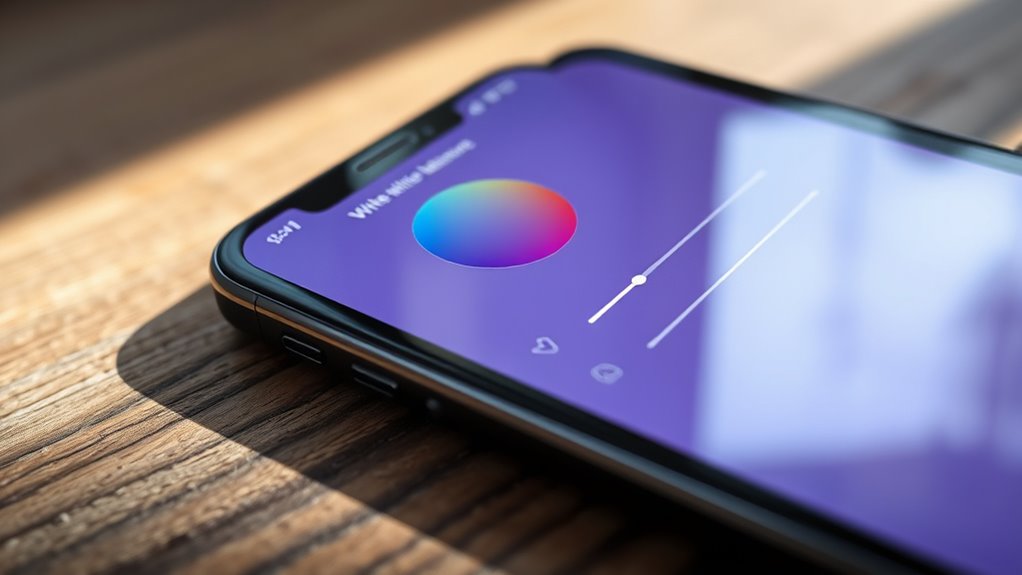
Employing Third-Party Apps for Precise Adjustment

Employing third-party apps for precise white balance adjustment offers a convenient and accurate alternative to manual calibration. These apps analyze your photos and suggest ideal white balance settings, often providing sliders or presets for fine-tuning. With their advanced algorithms, you can quickly correct color casts and achieve a more natural look in your images. Many apps also include tools to preview adjustments in real-time, helping you see the effects immediately. Unlike manual calibration, which can be subjective and inconsistent, third-party apps deliver consistent results across different scenes and lighting conditions. They’re especially useful if you regularly shoot in challenging environments or want to streamline your editing process. Using these apps can greatly improve your photo quality without requiring extensive technical knowledge.
Tips for Achieving Consistent Results in Different Lighting Conditions

Lighting conditions can vary widely, so it’s crucial to adjust your white balance settings accordingly to maintain consistent colors across your photos. To do this effectively:
- Assess the ambient light—is it warm, cool, or neutral?
- Use your iPhone’s built-in tools like the True Tone feature to adapt automatically.
- Switch to different lighting modes (e.g., indoors, daylight, shade) for ideal results.
- Manually calibrate by capturing reference shots under each lighting condition and adjusting white balance accordingly.
- Being aware of regional lighting variations can help you understand how different environments impact color accuracy, enabling more precise adjustments.
Troubleshooting Common White Balance Issues

Even with the best techniques, white balance issues can still occur, leading to colors that look unnatural or inconsistent across your photos. These problems might be caused by tricky lighting, reflections, or camera settings. To troubleshoot effectively, identify the specific issue first. For example, photos may appear too warm, cool, or have a color cast. Use this table to help diagnose common white balance problems:
| Issue | Cause | Solution |
|---|---|---|
| Photos look too warm | Incandescent lighting | Use a white balance preset or adjust manually |
| Photos are too cool | Overcast or fluorescent light | Use a custom white balance setting |
| Colors appear off or inconsistent | Mixed lighting conditions | Reset camera settings and recalibrate |
| Images have a color cast | Reflection or glare | Change angle or add diffusers |
Additionally, understanding the lighting conditions and how different sources affect color can help you better calibrate white balance for more accurate results.
Maintaining Calibration Over Time
To guarantee your iPhone’s white balance remains accurate over time, regular recalibration is essential. Over weeks and months, lighting conditions change, and your device’s sensors can drift. To maintain ideal calibration, consider these steps:
- Use consistent lighting when capturing photos to reduce variability.
- Revisit calibration settings periodically through your camera app or third-party tools.
- Clean your iPhone’s camera lens to prevent dirt or smudges from affecting color accuracy.
- Compare your photos to reference images under known lighting conditions, adjusting as needed.
Frequently Asked Questions
Can I Calibrate True‑Tone White Balance Without Professional Equipment?
You can’t precisely calibrate True‑Tone White Balance on your iPhone without professional equipment, but you can improve it. Try adjusting your camera settings, like locking focus and exposure, or manually setting white balance in third-party apps. Keep your screen and environment consistent when taking photos. These steps won’t be perfect, but they can help you get closer to accurate colors without specialized tools.
How Often Should I Recalibrate My Iphone’S White Balance?
You might wonder how often to recalibrate your iPhone’s white balance. Generally, it’s best to do it only if your photos start looking off or the colors seem inaccurate. For most users, recalibrating once every few months is enough. If you notice significant color shifts or lighting changes, recalibrate sooner. Regular recalibration isn’t necessary unless you see inconsistencies, so trust your eyes and adjust as needed.
Does Calibration Affect Photo Quality in Low-Light Conditions?
Imagine your camera as a painter, capturing the world’s true colors. Calibration fine-tunes this artist’s palette, especially in low-light scenes where shadows hide secrets. When you calibrate your iPhone’s white balance, you sharpen those shadows and soften color shifts, making images clearer and more vibrant. So, yes, calibration profoundly enhances photo quality in dim settings, ensuring your memories stay true to life’s rich hues.
Are There Specific Iphone Models Better Suited for White Balance Calibration?
You might wonder if certain iPhone models handle white balance calibration better. Generally, newer iPhones, like the iPhone 13 and later, have advanced cameras and software that improve white balance accuracy. These models often support more sophisticated calibration features, giving you better control over color accuracy. If white balance calibration is important for your photography, opting for the latest models guarantees you get the most precise and consistent results.
Can Calibration Improve Video Color Accuracy on Iphone?
You wonder if calibration can enhance your iPhone’s video color accuracy. Calibration helps you achieve more consistent, true-to-life colors by adjusting your camera’s settings. When you calibrate, you refine your white balance, enhance color fidelity, and ensure your videos look more natural. This process allows you to capture scenes more accurately, making your footage better suited for professional projects, social sharing, or personal memories.
Conclusion
Think of calibrating your iPhone’s white balance as tending a delicate garden. With patience and the right tools, you nurture your device’s color accuracy, allowing your photos to bloom with true tones. Each adjustment is like watering the roots, ensuring vibrant, consistent results regardless of changing light. Keep tending this process, and your images will always reflect the genuine beauty of your world—bright, honest, and perfectly in sync.